
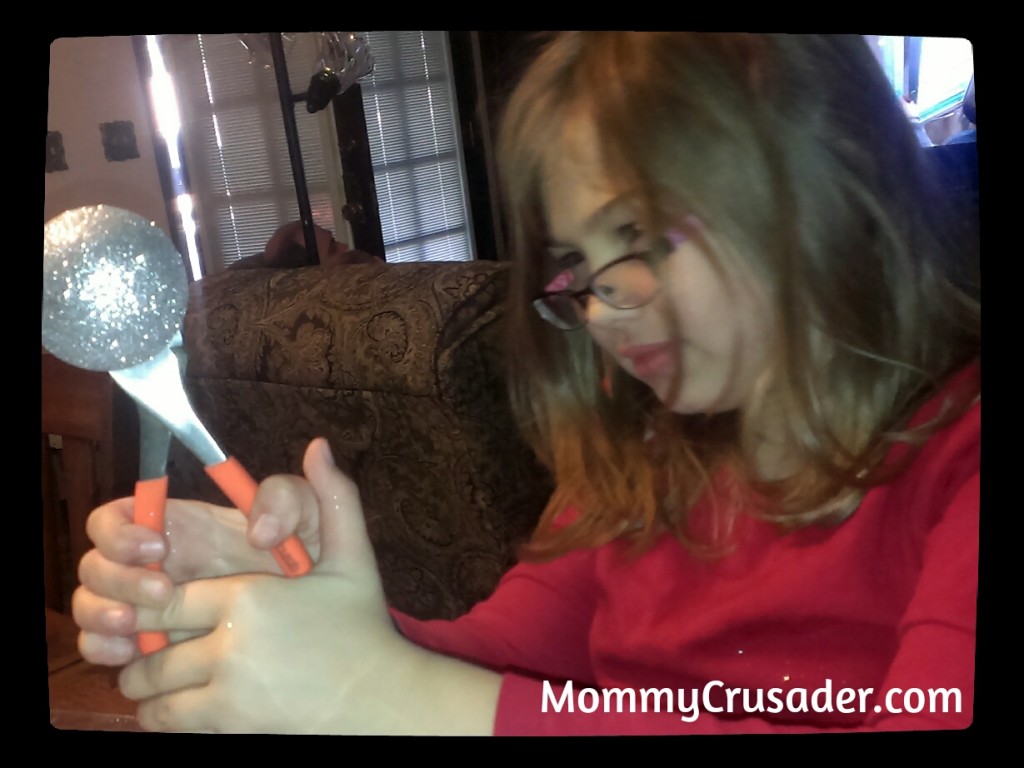
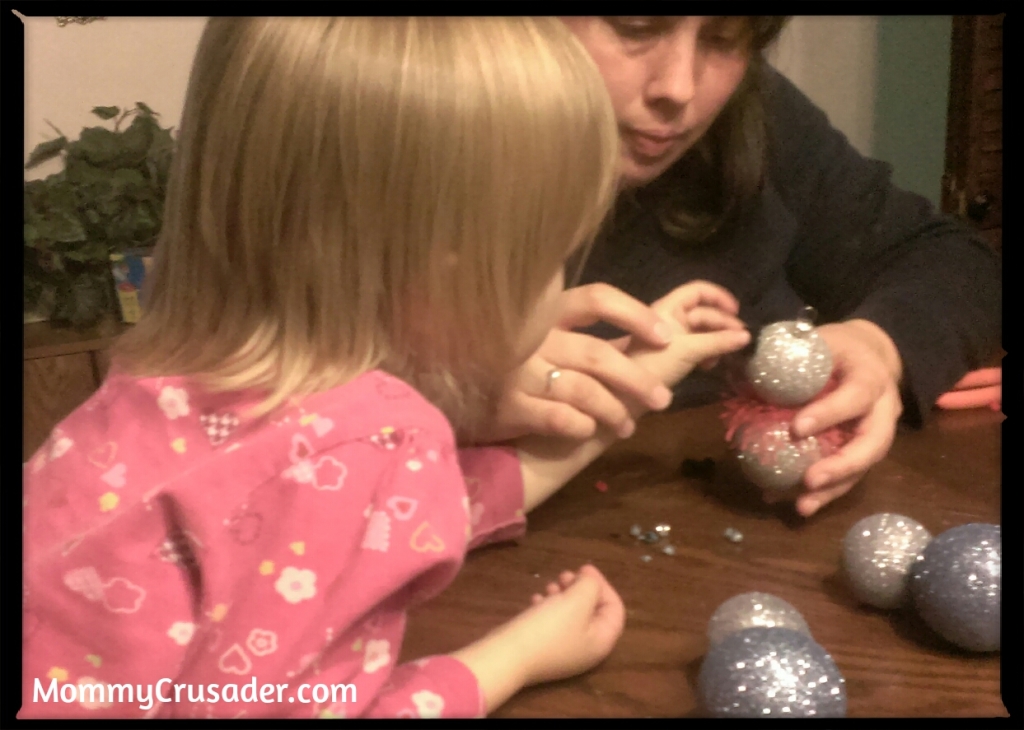
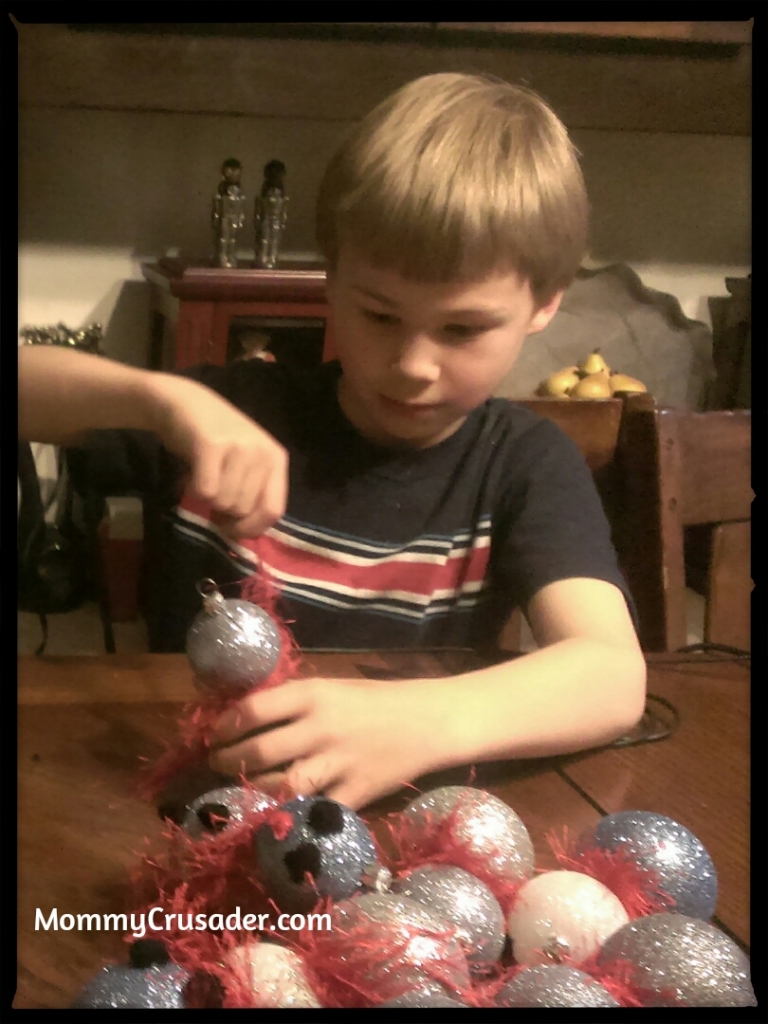
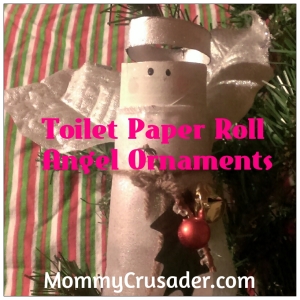
This week our kid crafted Christmas ornament is a snowman ornament. We glued fracture-proof ornaments together and added snowman eyes, buttons, and scarves to complete the look. The parents had to hot glue the ornaments together, as well as help with glue placement for the accessories. Still the kids seemed to enjoy making the ornaments. They even came back to make more than one. It was a lot of fun and a very pleasant way to spend the afternoon.

Supplies (for one ornament)
2 fracture-proof ornaments, one slightly smaller than the other
3 black pompoms
1 small red pompom
1 yard of yarn (we used red fuzzy yarn)
Hot glue gun and glue
wire cutters
scissors
How to build the snowman ornament
First, use the wire cutters to snip off the ornament hook from the larger ornament.
Next, glue the two ornaments together. I recommend applying a generous amount of hot glue around the hole created in the larger ornament. Then, I recommend turning the snow man upside down while waiting for the glue to set. Also, gluing the smaller ornament on so that the hanger is at about 30 degrees from vertical will help the ornaments hang nicely.
Once the glue has set, it’s time to add the decorations.
First, cut one of the black pompoms in half. Then glue the halved pompoms where the eyes of the snowman would be on the smaller ornament.
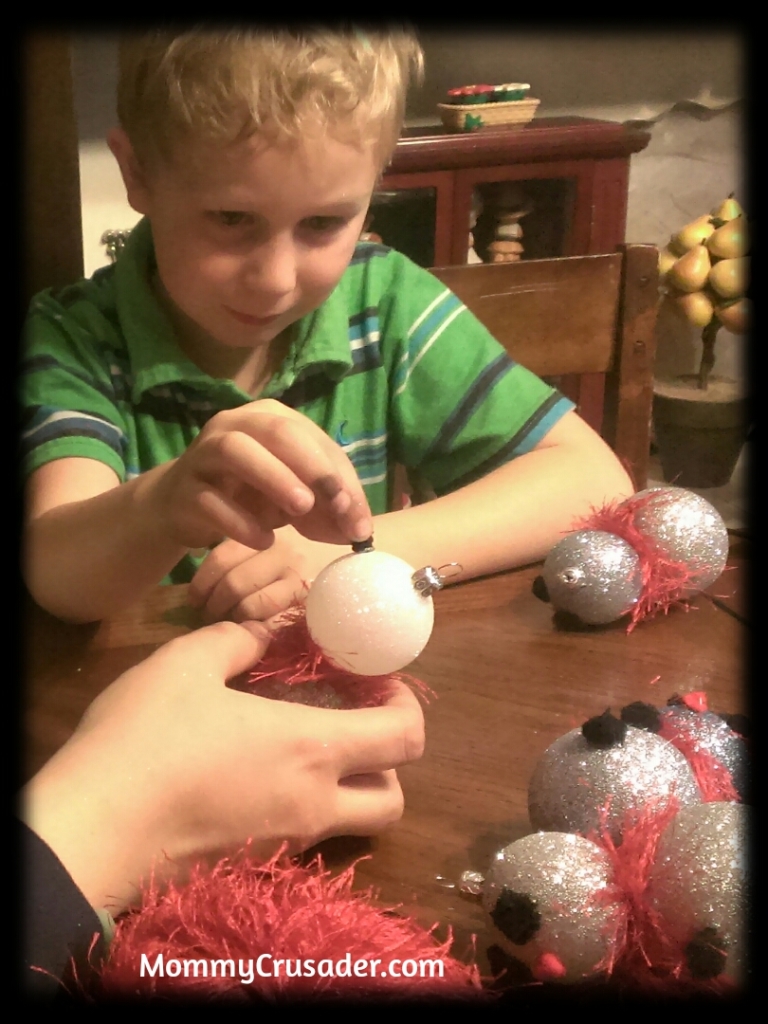
Then glue the other two black pompoms onto the large ornament to represent the snowman’s buttons. Again, this craft uses hot glue, so remind kids to be careful and be sure to have an adult run the glue gun.
Next, using a small amount of hot glue, affix the small red pompom as the snowman’s nose.
Finally, it’s time to make the scarf.
If young children are doing this craft, then just wrap the yarn around the “neck” of the snowman. Older children can finger crochet a scarf to go around the neck. This takes quite a bit of fine motor control, so be make sure the kids have a lot of time to complete this step.
To finger crochet the scarf, start by tying a slip knot in the end of the yarn. Then grab the yarn and pull it through the loop on the slip knot. Tighten the loop down, and then pull the excess yarn back through the loop. Repeat the process until the scarf is long enough to go around the neck of the snowman and be tied into a small knot. Once the proper length is achieved, tie the scarf off by pulling the yarn all the way through the loop. Then wrap the finished scarf around the snowman ornament.
That’s all there is to it. A very simple, but fun ornament to make with kids of any age and a great addition to the Christmas tree.

Permalink
I love the ornaments you used, with the glitter - I always love the glitter! lol!
Permalink
The glitter makes things shiny — like the table and the floor and sometimes cheeks and fingers.:) But I love the way it sparkles in the light. Thanks for the kind comments and for coming by.
Permalink
how fun! I love you all craft together The sparkles just totally make the snowman!
Permalink
Thanks so much! I think we all enjoy spending the afternoon working on these together. Sometimes, I have to convince my children that they will like it once they get started. I’m glad you liked the ornaments. Thanks for coming by and commenting.