
Cookie Cutters are very versatile. Sure, they cut out cookies and clay shapes. But they can also create beautiful pictures. My preschooler and I made some fun Valentine themed pages just by painting with cookie cutters.
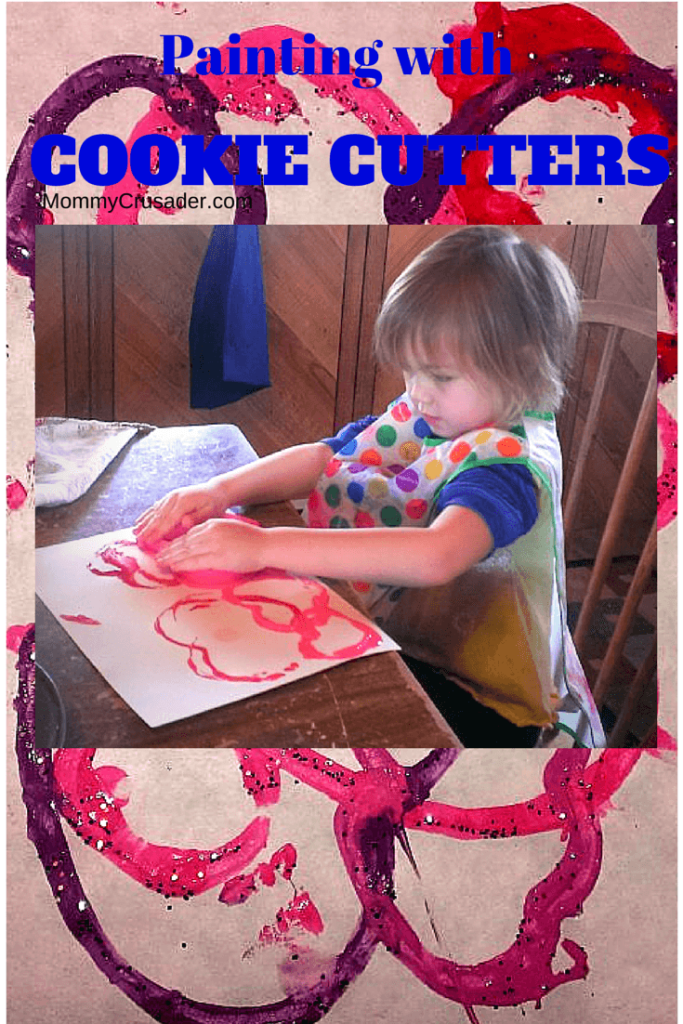
This is a simple craft to set up and clean up. It was also really fun to do with my preschooler. We were finished in about 20 minutes from beginning to end. However, we did have to wait a while for the paint to dry. I’ve added this to the list of things to do to help with the afternoon crazies that seem to plague my family.
Materials:
At least one plain piece of paper for each child
Plastic cookie cutters (You can group them into themes like we did, or just let the children have at them)
Craft paint
One foam brush (for mixing only)
Mixing tray (I used a pie tin)
Water tray (to receive soiled cookie cutters, again I used a pie tin.)
Directions:
Set up the area
Prepare the area with a drop cloth or newsprint. My table is going to be refinished this summer, so I didn’t do this step – but I will once it’s refinished. Also, set up each child with a painting smock because their fingers will get messy doing this activity. On the table be sure to place the water tray (with just enough water to cover the bottom of the tray) near the children participating in the activity. Place the cookie cutters where the children can reach them, without needing to lean over the paint or water trays. Also place the paint tray so the children can access it without needing to lean over their papers. Decide what color will be the first color the children will use and prepare the paint tray.
Because this was a Valentine themed activity, we started with red, then added some white to make pink, and then we added a bit of blue for a light mauve, and then more red and blue for a stronger purple color. We never had to wash out our paint tray (until we were finished), because the sequence of colors used progressed from one to the next.
Start the Activity
Explain to the children that by turning cookie cutters upside down (meaning the part that is pressed into the cookie dough is now up), they become good stamps to paint with. Demonstrate placing the upside down cookie cutter into the paint and then pressing the cookie cutter onto the paper. Make sure all of the cookie cutter edge is well-coated with paint and pressed evenly onto the paper. Then life up quickly and in a straight line, so the edges don’t smear.
Embellish the Art
Once the children have stopped painting with the cookie cutters, it’s time to add glitter. Add the glitter before the paint dries. Add glitter by sprinkling a good amount onto the paper and spreading it around by tipping the paper back and forth slightly. Shake of any excess glitter, and set the paper somewhere safe to dry. If other embellishments are wanted, it’s best to wait until the paint has completely dried.
Now that the paper’s finished, it can be made into a card or Valentine Day letter, or simply hung in the window to help decorate for Valentine’s Day. I hope you enjoy the activity as much as we did.
Permalink
What a cute idea! We’ll definitely be making some Valentines for the grandparents with this. Thanks for sharing!
Permalink
I’m glad you like the idea and I hope the Valentines turned out! Thanks for the visit.
Permalink
Fun! I’m definitely going to try this with my girls. (The boys might even want to join in for this one.)
Permalink
I sure hope everyone had a good time. Thanks for the visit and comment.
Permalink
This is such a great idea! We made heart valentines this weekend with finger paints and my boys loved it. I’m going to try this with them today and I’m sure they will love it too!
Permalink
I hope they all had a great time. The Valentines with finger paints sound cute too. Thanks for the visit and comment.
Permalink
I love this: easy to set up and lots of fun practice!
Permalink
Thanks. I think that’s my favorite part of the activity. Thanks for the visit and comment.
Permalink
We haven’t painted with cookies cutters yet but after seeing this activity yet again I may just get them out tomorrow Great idea!
Permalink
Oh, I’m glad you liked it. I hope you have fun doing it. Thanks for the comment and visit.