
*This post contains affiliate links
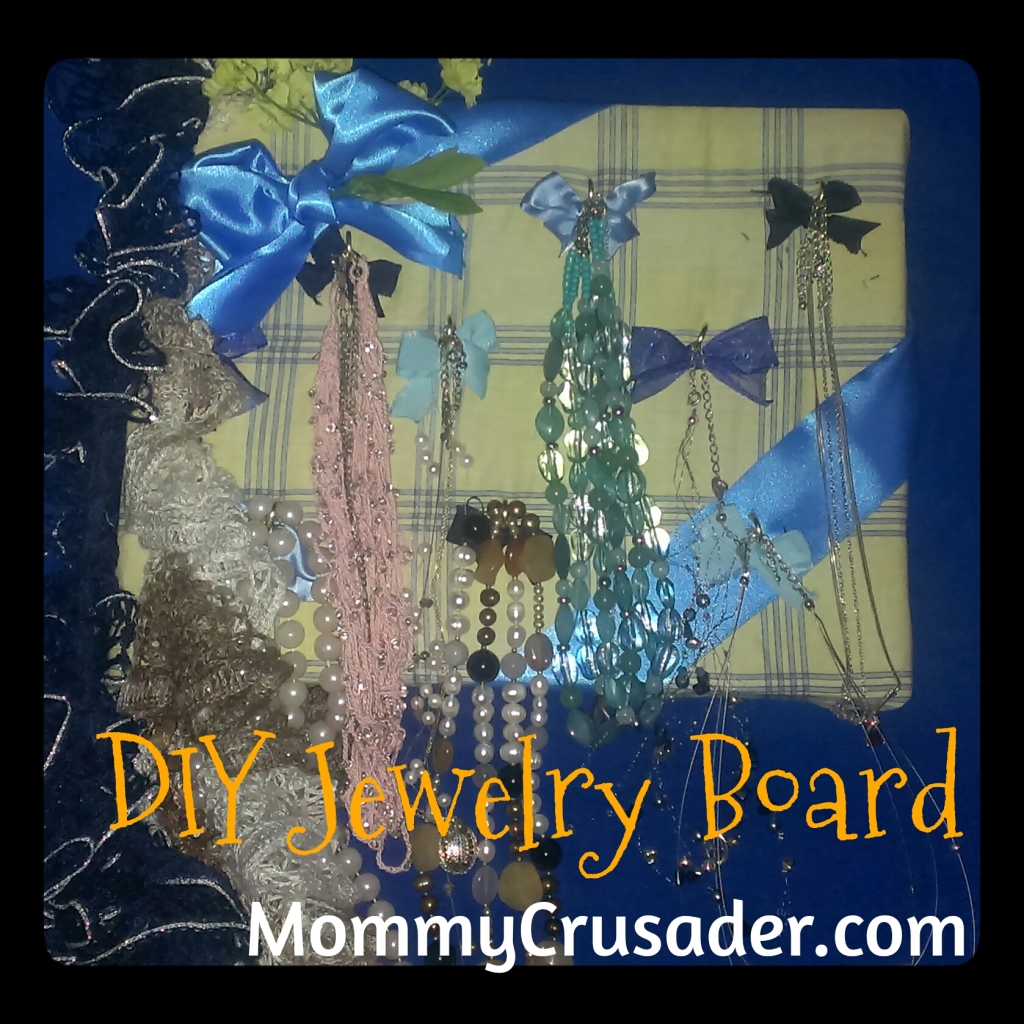
My jewelry box broke in the move to our new place. I just discovered that the other day. It was a sad moment. Now I had dozen or so necklaces, and no place to keep them safe. (Necklaces get destroyed faster than anything by my very youngest kiddos.) I needed a place to put them, but didn’t have a ready-made second option. Then, I got to looking in my garage and found what I needed to make a jewelry board.
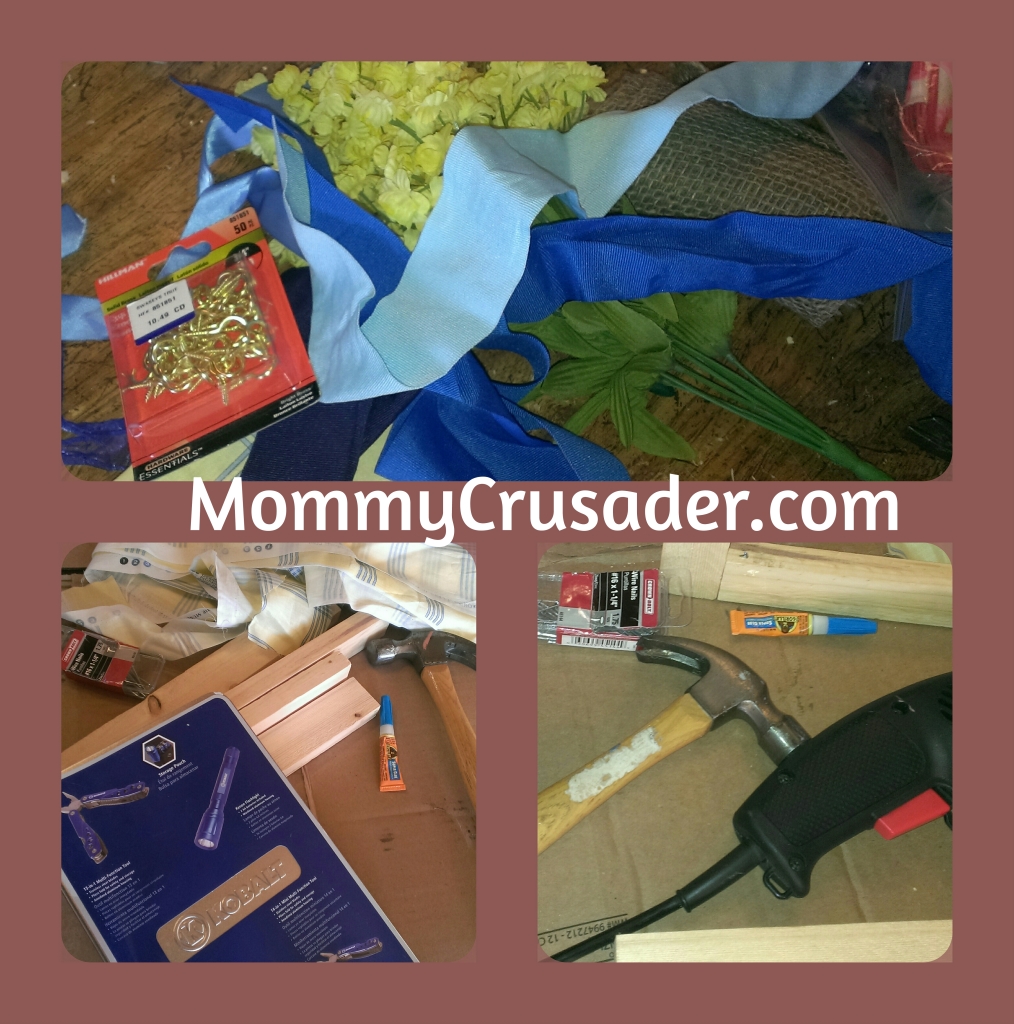
Supplies needed:
4- 1 by 2 boards cut to desired length.
I cut two boards 8 inches long and two others 11 inches long, so the frame that was created looked a lot like a piece of typing paper.
2- panel of cardboard, cut to match the shape of the assembled wooden frame
4- wood screws about an 1 ½ inches long
4- finish nails
Wood glue (I’m a fan of Gorilla Brand Wood Glue)
12 inches of any type of fabric
12 brass cup hooks
Trimming desired to decorate with
I used ribbon, and silk flowers.
A power screwdriver
A power drill
A utility knife
A hammer
A staple gun
Matches
Directions:
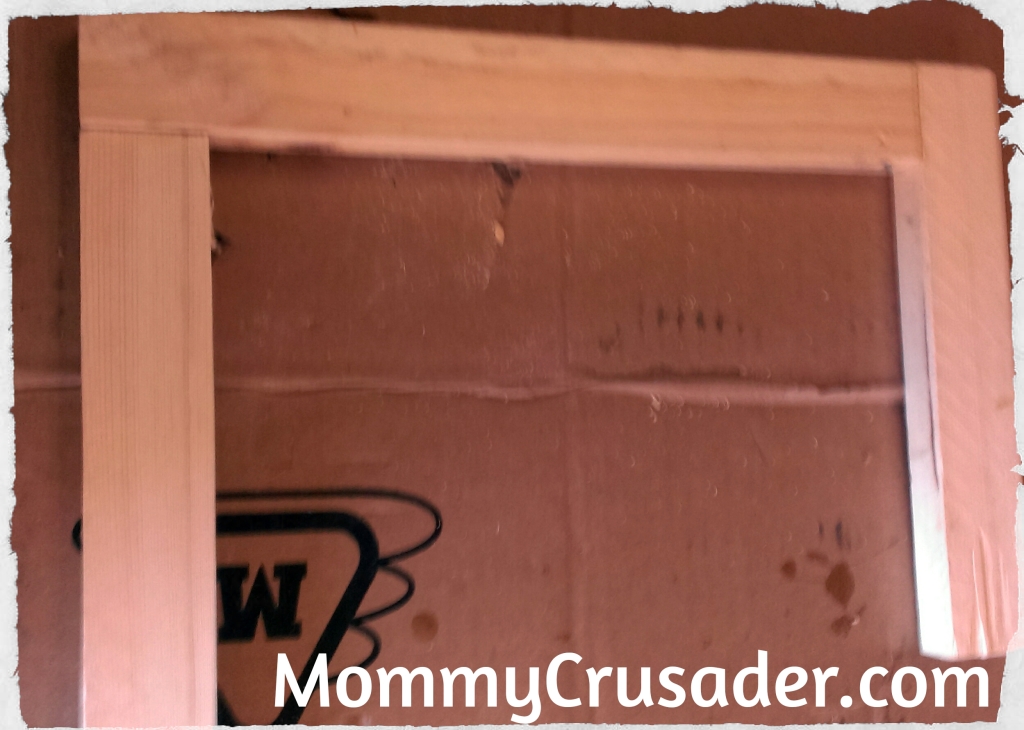
Step 1 - Assemble the frame
This is done by placing the boards together so they form the rectangle. Then, drill a guide hole from the outside edge of the frame through to the other piece of the frame. Drive the screw into the guide hole until the screw is flush with the wood. Repeat for the other remaining holes. Be sure that while assembling the wooden frame, the corners are all square. After the frame has been screwed together, run a thin bead of wood glue on the joints between the wood pieces. Allow time for the wood glue to dry. (About 30 minutes – depending on how thickly the glue was applied).
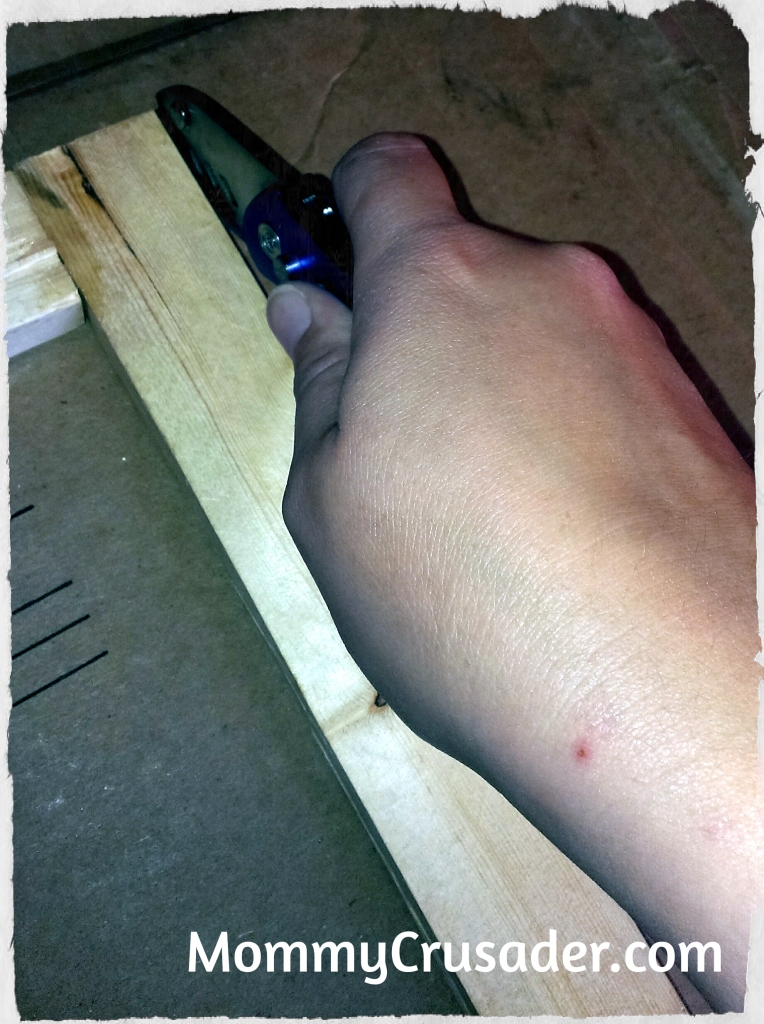
Step 2 - Cut and adhere the cardboard
Place the frame on the cardboard and trace the outer edge of the frame. The cardboard will need to be flush with the outside frame edge once it is cut. Use the utility knife and carefully cut through the lines just traced. Repeat the process for the second cardboard panel. Glue both pieces of cardboard together. Then place the cardboard on whatever side of the frame will be the front. Nail one nail in each of the corners of the frame.

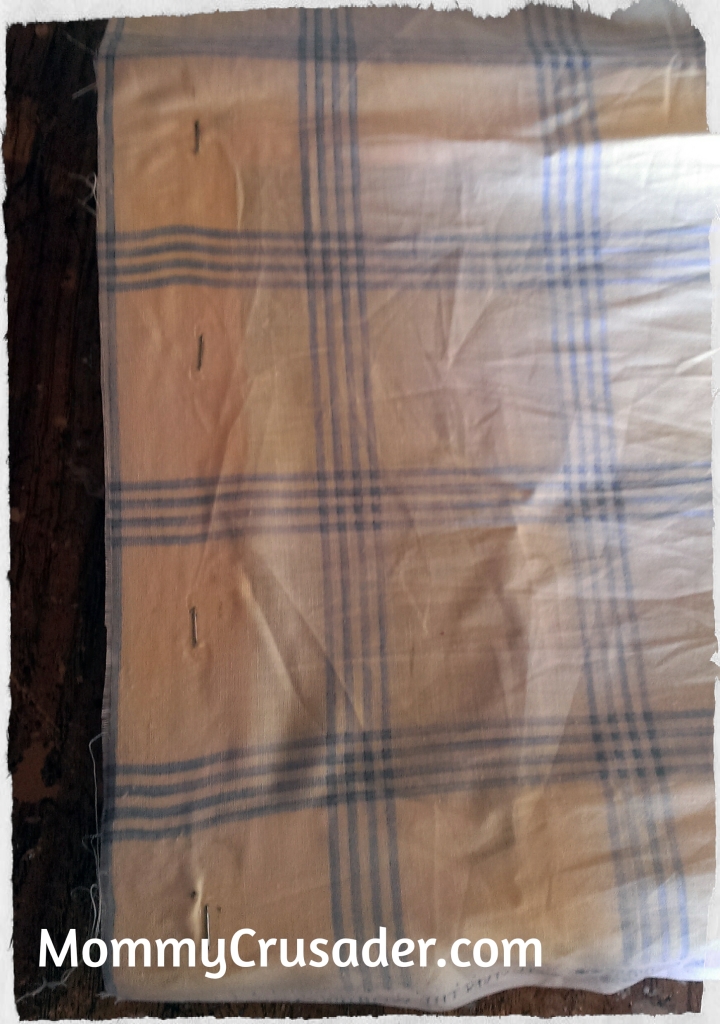
Step 3 - Apply the fabric to the assembled cardboard and frame
Turn the frame face down. Lay the fabric wrong side out on top of the upside down frame. Staple the fabric to the wood frame about ½ an inch from the outside edge of the frame. Don’t staple in the corners. After one side has been stapled, turn the frame right side up and stretch the fabric over the frame, then turn the frame over to access the other three sides. Working on the side opposite the side just completed, and starting in the middle of the side, fold the cut edge of the fabric under to create a clean edge on the back of the frame. Staple the fabric down, being careful to pull the fabric tight before stapling. Repeat this process for the two remaining sides. Next, tuck and fold the fabric at the corners to create an appealing line, and staple the fabric down. I used about three staples for the short sides and four for the long sides

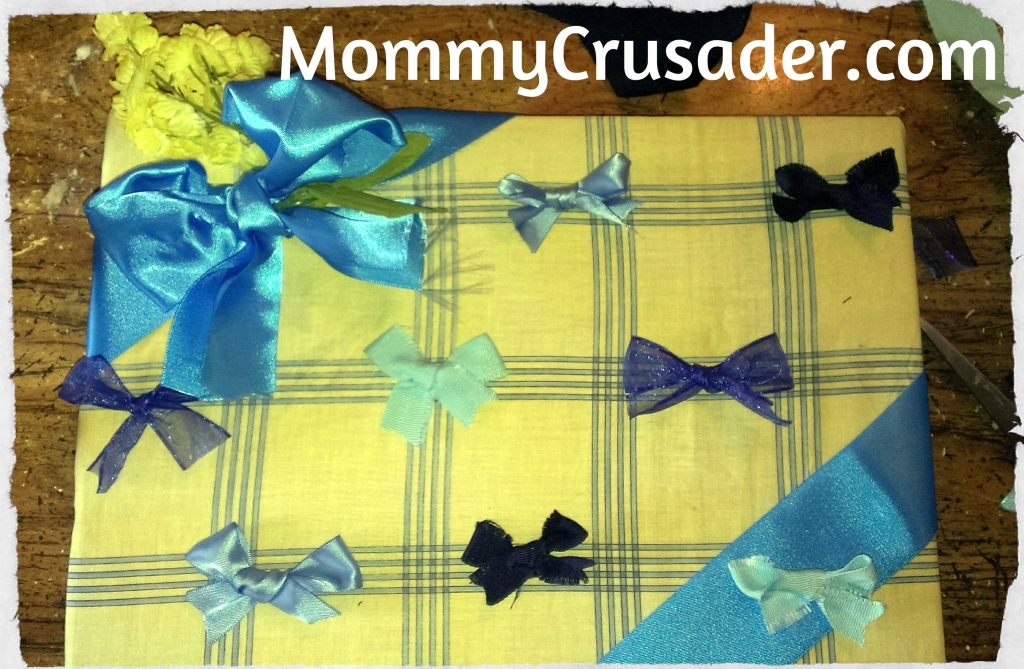
Step 4 - Add the cup hooks
Decide how the jewelry will hang from the board, and place the cup hooks accordingly. I staggered my cup hooks a few inches apart on all sides to give my necklaces enough space to hang without overlapping on other necklaces. I used ribbon tied into bows to layout where my cup hooks should go. After the pattern has been decided on, installing the cup hooks is easy – simply twist while applying pressure. Keep twisting the cup hook until the base of the cup hook is flush with the fabric, and the fabric dimples slightly.
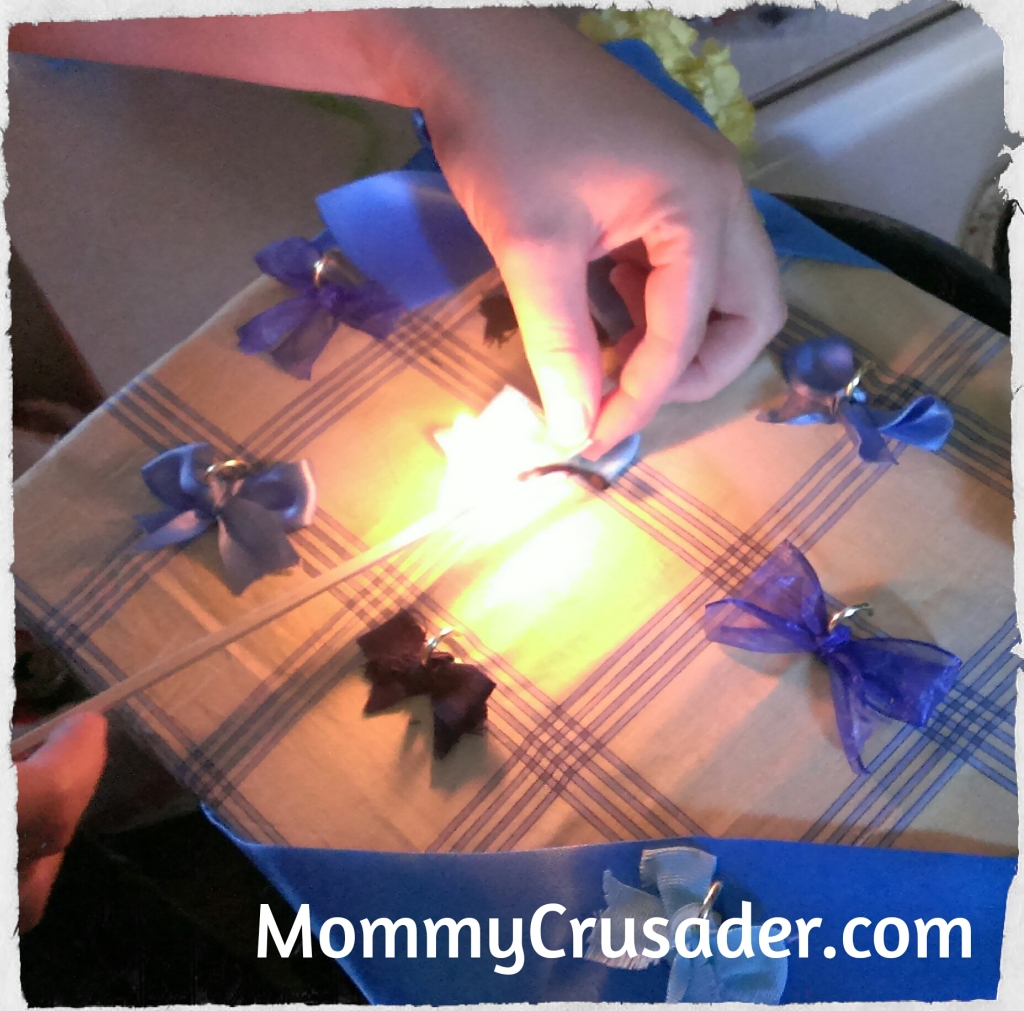
Step 5 - Decorate
This board can be decorated in any manner desired. I wrapped a ribbon at an angle around the corners of the completed frame and tied a craft bow. Then I added silk flowers as an accent to the bow. Then to dress the board up a little, I added smaller bows to each of the cup hooks. I sealed the ribbon edges by using a match to melt the cut edges. This keeps the ribbon from fraying.
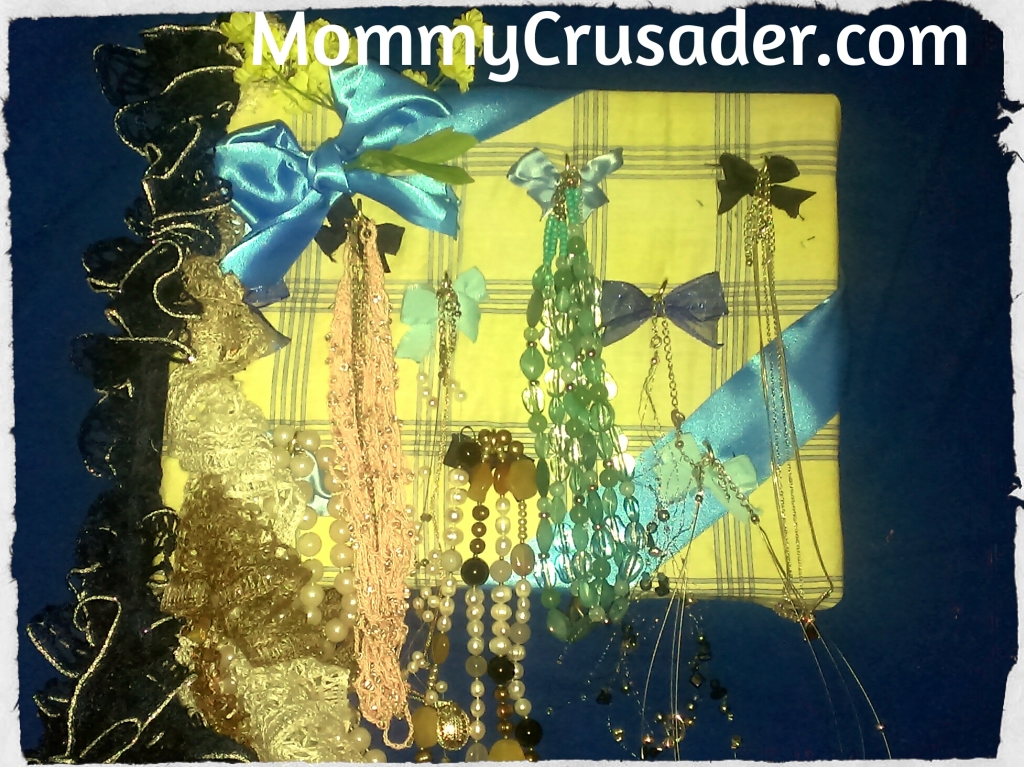
I enjoyed making this jewelry board. It was fun to make a craft just for Mom, and it also solved a problem. The concept for this craft is simple. The execution of this craft was a little more difficult than I thought. Partially, I think, because the baby screams like a banshee whenever she hears any power tools. To do the craft “right”, take a moment to measure and cut squarely, as this will make it easier to build the frame.
Do you have a useful item you’ve crafted recently and would like to share? Let me know!
Permalink
It’s great to make something yourself! Now, your necklaces are safe and the board looks great #pintorials
Permalink
I’m glad you like the board. It was really nice to craft for myself once in a while. Thanks for your comments.
Permalink
this would make a lovely present for any little girl. Popping by from Tuesday Tutorials pin party
Permalink
Thanks for dropping by. We actually did make another as a last minute gift for a little girls birthday party.