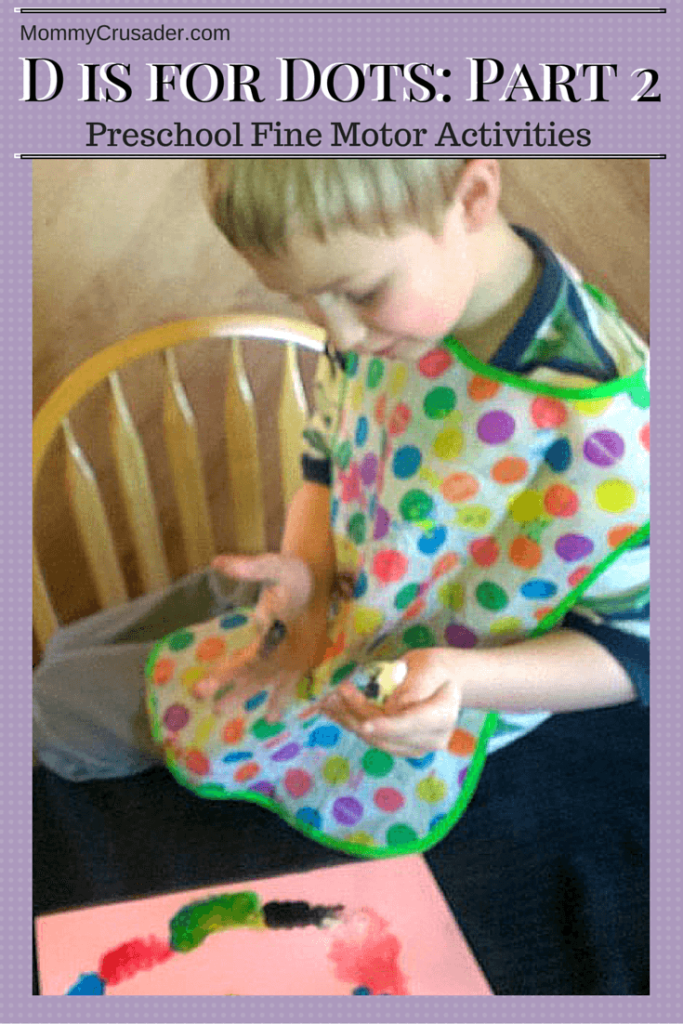
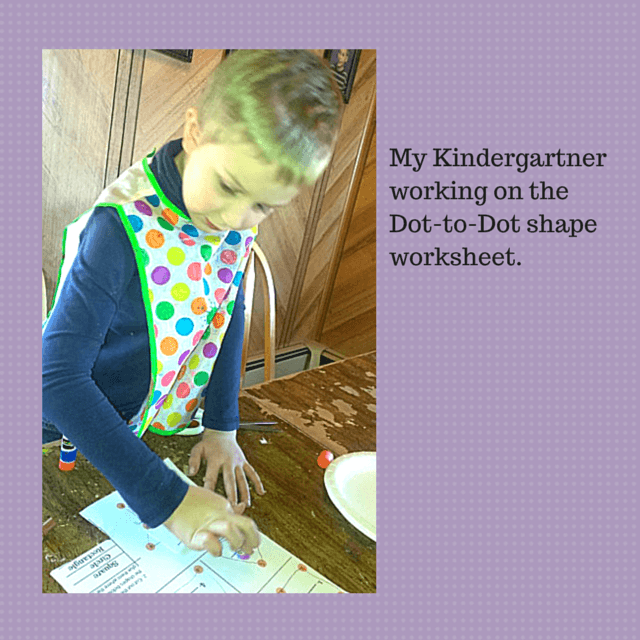
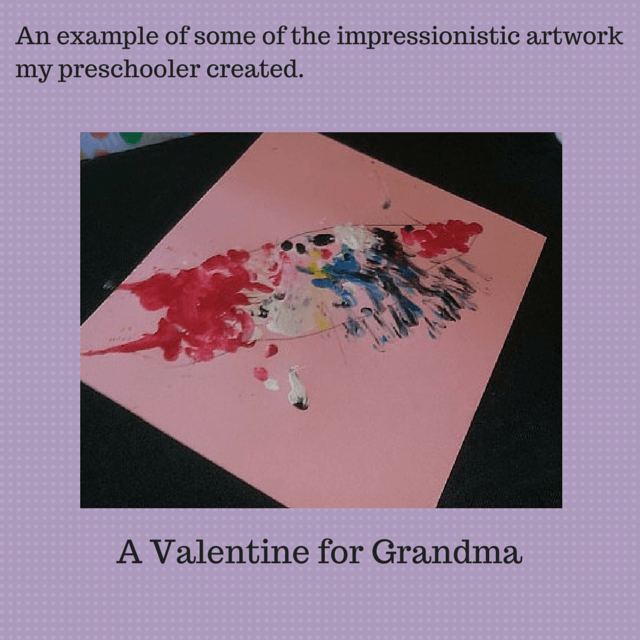
I mentioned earlier that I was working through a unit with my preschooler titled D is for Dots. I have already talked about the first half of that unit, the Dot game, and dot painting the upper and lower case of the letter D. Here is the second grouping of activities: A shape dot to dot, and dot finger painting Valentine pictures.
D is for Dots, Activity 3: Dot-to-Dot Shape Worksheet
Objective 1: to help the students develop fine motor skills by making basic shape forms
Objective 2: to help the students recognize basic shape forms
Materials:
One copy of the dot-to-dot worksheet, available here, for each child.
Pencil, pen, or crayon
Scissors
Glue
Procedure:
Pass out the work sheet to each child. Explain that they need to follow the number order on the dots to make the lines for the pictures. Help younger children so they are successfully able to find the numbers to correct to make the shapes. After the dots have been followed once, have the children darken the lines in to make the shapes more visible.
Ask the child to name each shape, and discuss what each shape is and how it is constructed. (Here is another shape learning activity).
Now, have the student’s cut out the names for each shape. Again, children should be supervised while cutting –for the safety of the children and for the safety of their clothing, the table cloth, hair, and other non-paper, yet cut -able items.
Have them glue the names of the shapes onto the corresponding line.
D is for Dots, Activity 4, Dot Finger Painting Valentine Pictures
Dot painting is my term for Pointillism, which is an impressionistic painting technique developed by George Seurat and Paul Signac in the mid 1800’s. Pointillism involves dotting the canvas with the colors, instead of mixing the colors on a pallet, to create the color the artist wants. Interestingly, pointillism is how most home printers actually print the pictures they are sent, and how most T.V. and computer screens display color as well. It also is an interesting way to compliment our study of the primary colors. For more information about this topic check out this Wikipedia article on Pointillism.
Objective 1: to help the children develop fine motor skills while learning a different painting technique.
Materials:
A paint pallet set up with red, yellow, blue, white, and black for each child (or pair of children). I used my trusty pie tins.
Lots of paper towels
Sturdy paper (like card stock) for each child
one pencil for each child
Procedure:
Explain to the children that the purpose of this activity is to make a Valentine themed picture by only using dots. They are welcome to create however they want, but they must only use dots to apply the paint. Encourage them to draw out their designs ahead of time. Talk with them about how the colors mix and how black and white affect the colors.
Assist in drawing what the children want to paint, if necessary. And be ready with the paper towels.
Then sit back and enjoy the creativity.
This was a fun creative outlet for the end of our week. I even had my second and fourth grader join in the project. All the kids enjoyed working with paint this way, however, one or two needed to be reminded to not stir or mix the colors, only dot the colors on the paper. It was a great way to finish off our D is for Dot unit. And the kids made fantastic Valentine themed pictures.


Permalink
I love this and thank you for the worksheet!
Permalink
I hope you enjoy the worksheet, and thanks for the kind comments.
Permalink
I love all of these activities you share; and my boys do too! Can’t wait to try these with them. We have that same Crayola bib too… it is a sanity saver!
Permalink
Yes, I love the Crayola bib. Sometimes I wish all of my children’s clothing just came with one attached. Thanks for your kind comments, and have fun with your boys.
Permalink
These are really fun activities. I know some kids who will want to play with dots. Thanks for sharing!
Permalink
I hope they have fun when they get to play. Thanks for coming by and commenting.