Five Minute Fall Leaf Centerpiece
This post contains affiliate links.
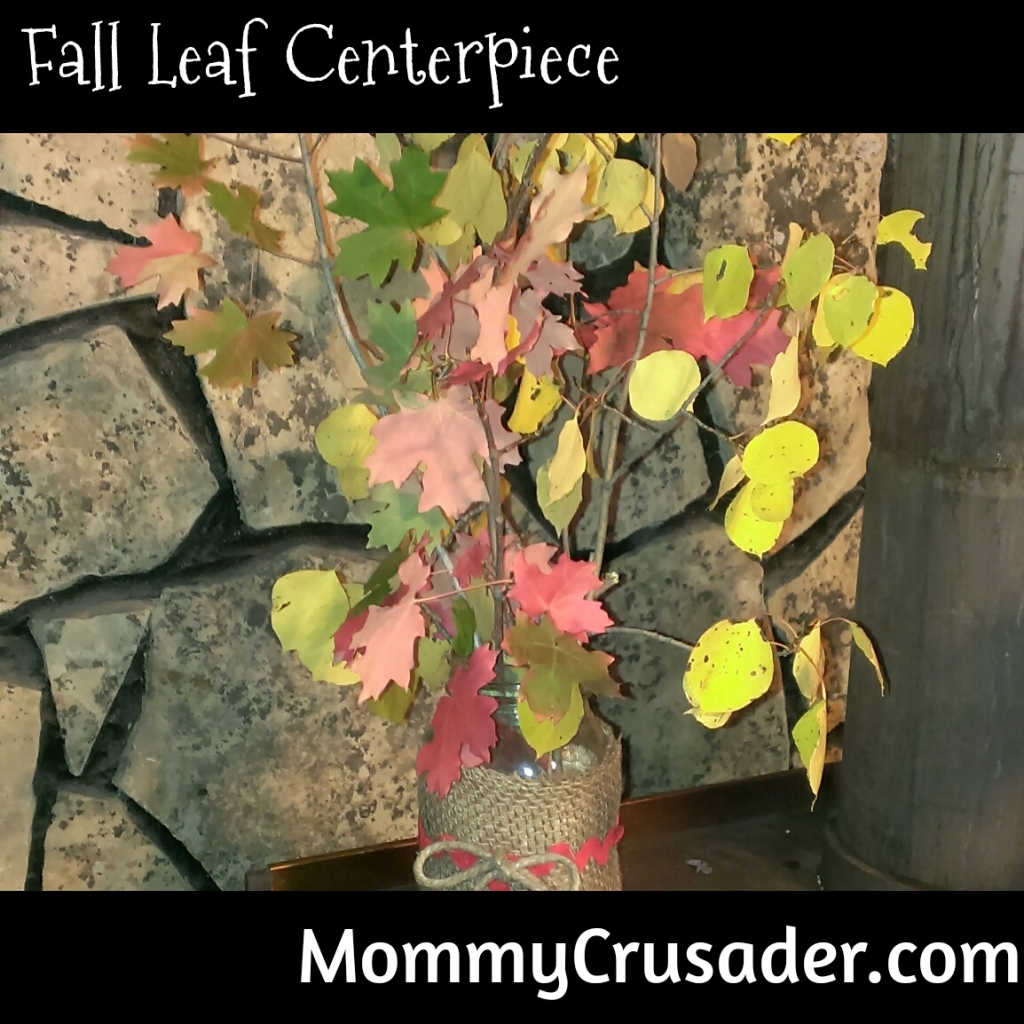
It will officially be fall soon, and the leaves in the nearby mountains are beginning to change. We took a drive through the mountains and decided to gather a few branches. The yellows and reds were just so beautiful. We got home with an armful of beautiful branches and decided to turn them into a fall leaf centerpiece.
The great thing about this craft is that it was really fast to do, fun for the kids to join in, and all done in about five minutes.
Supplies List
Here’s what is needed:
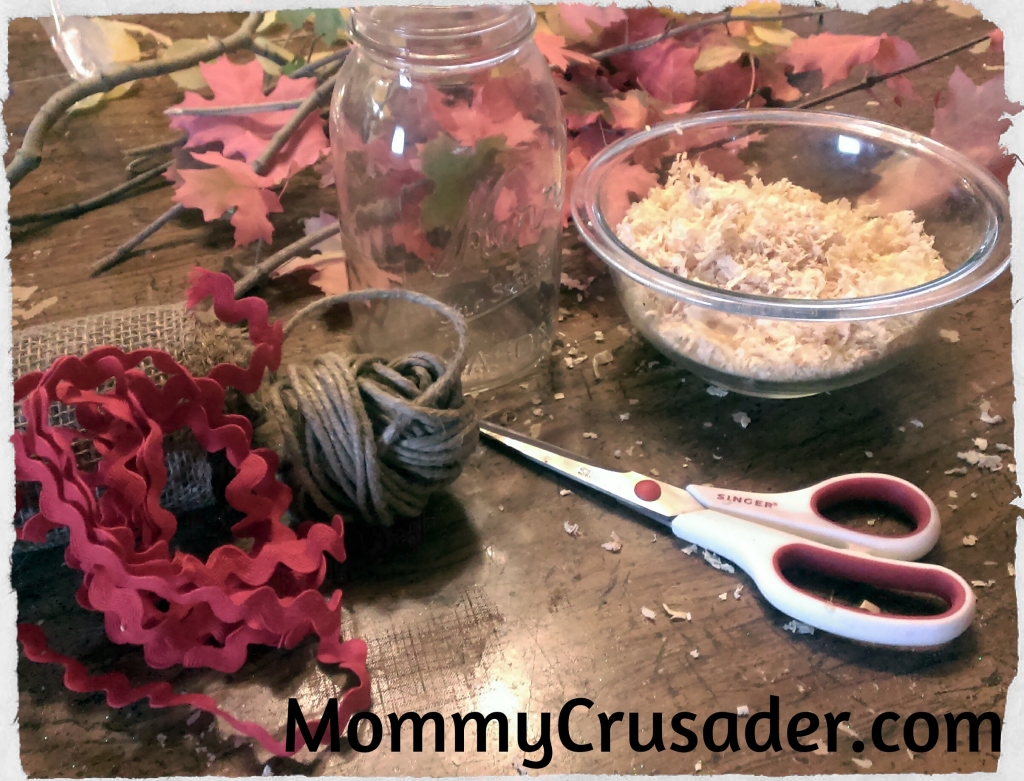
Tree branches with the pretty fall leaves
1 quart sized Mason jar
3 or 4 cups of sawdust, newspapers, or other filling material
12 inches of burlap fabric
18 inches of a fall colored rickrack ribbon (I used red)
12 inches of heavy twine
Kitchen scissors
Fabric scissors
Directions
First, gather all supplies together. Take a look at the branches and cut them to differing heights. Remember, height is a big part of centerpiece design. Be aware of where the heights of the different colors in the design will be once the centerpiece is completed.
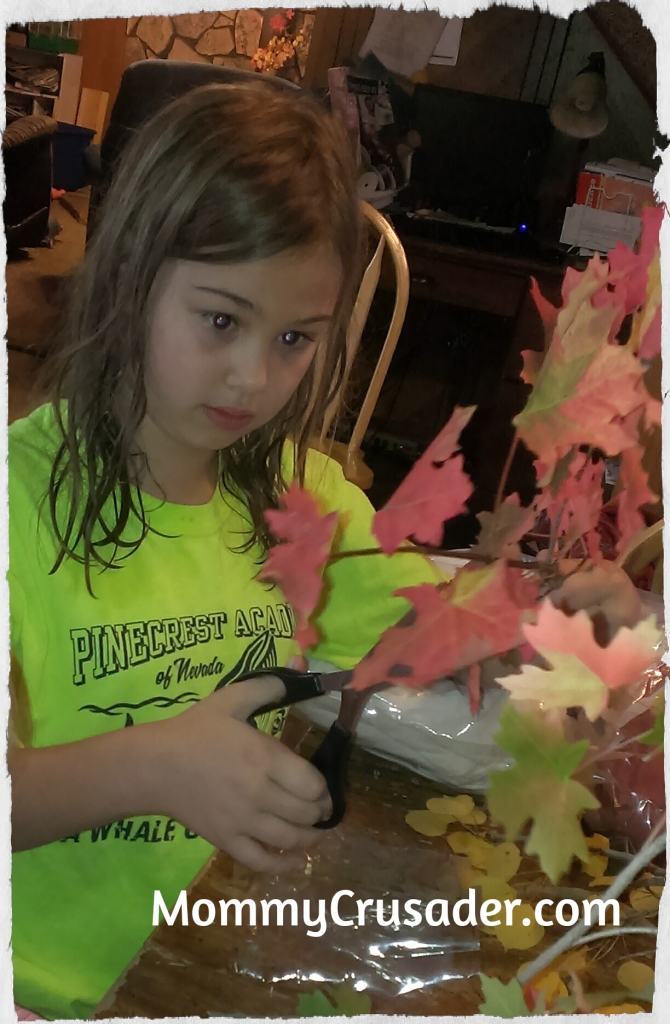
I let my fourth grader cut the branches using a pair of kitchen scissors. I let her choose where to cut the branches (but I had her show me before she cut the branch.)
While she was working on the branches, I had my preschooler scoop the sawdust into the Mason jar. The whole point of the sawdust is to support the branches. Other options could be marbles, crumpled newspapers, or even florist foam. I chose sawdust because I had it on hand and I was going for a more “natural” look. The stuffing will be covered by the burlap, so it doesn’t matter too much what is put in the jars.
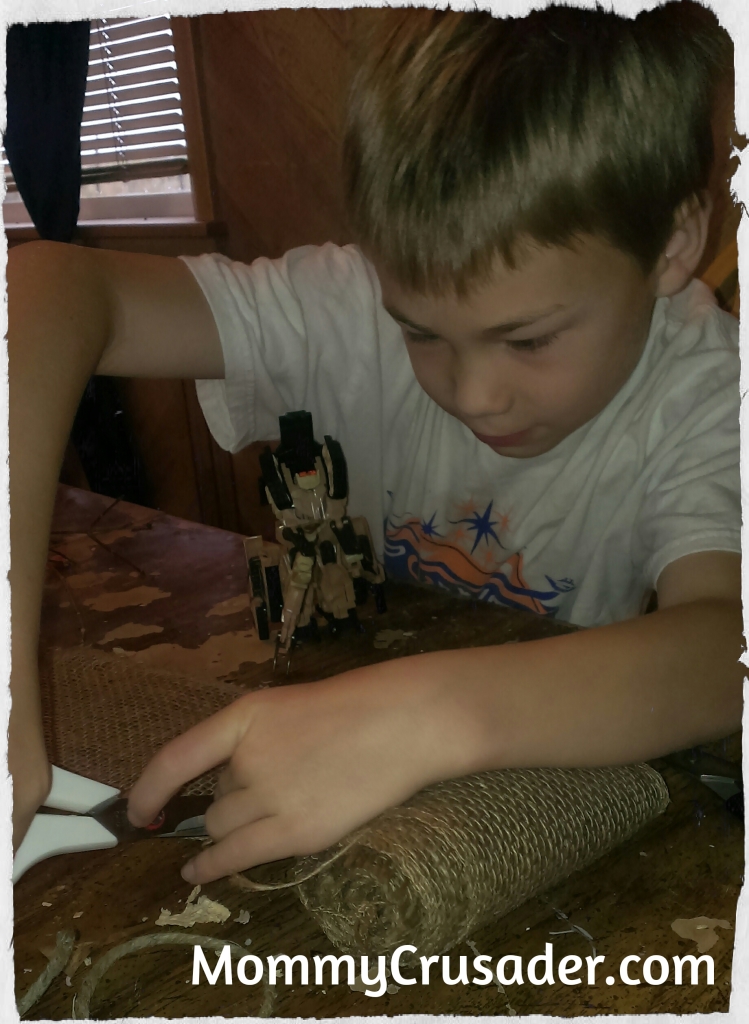
I let my second grader cut the burlap and my Kindergartener cut the twine. My fourth grader cut the rickrack. All the cutting took place while we were waiting for the preschooler to finish stuffing the jar. (As I said, this is a fast craft).
After the stuffing had been stuffed, we picked out branches from the ones my fourth grader had prepared. Then we pushed the branches into the jar. Mommy did do a little moving and rearranging to get the right look.
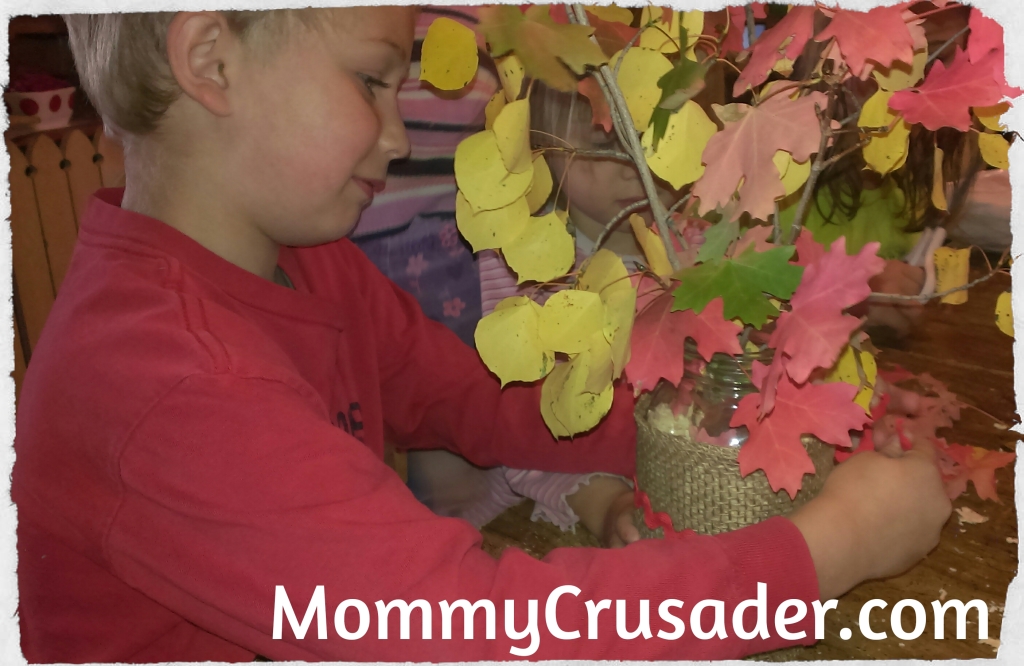
Once the leaves were placed in the jar, I had my preschooler wrap the jar with the burlap, while my Kindergartener wrapped the rickrack around the outside of the burlap. I tied a double knot, then slipped the twine behind the rickrack and tied a bow over the top.
The Finished Product
Because we used real leaves, I don’t expect the centerpieces to last for more than a week. The creation of the centerpiece took at most five minutes. I keep all the crafting supplies together in one place, too, so the set up for this craft was minimal.
That’s all there is to it! Voila, a fantastically festive fall leaf centerpiece. The kids got to help create something beautiful for the fall season and now some of what makes fall so beautiful is part of our home.


Permalink
This is so pretty! And easy enough for anyone of any age to have a try at
Permalink
Thanks so much! Yes, this craft was a lot of fun because all of my kids (with their various skill levels) could help. Thanks for visiting and sharing.