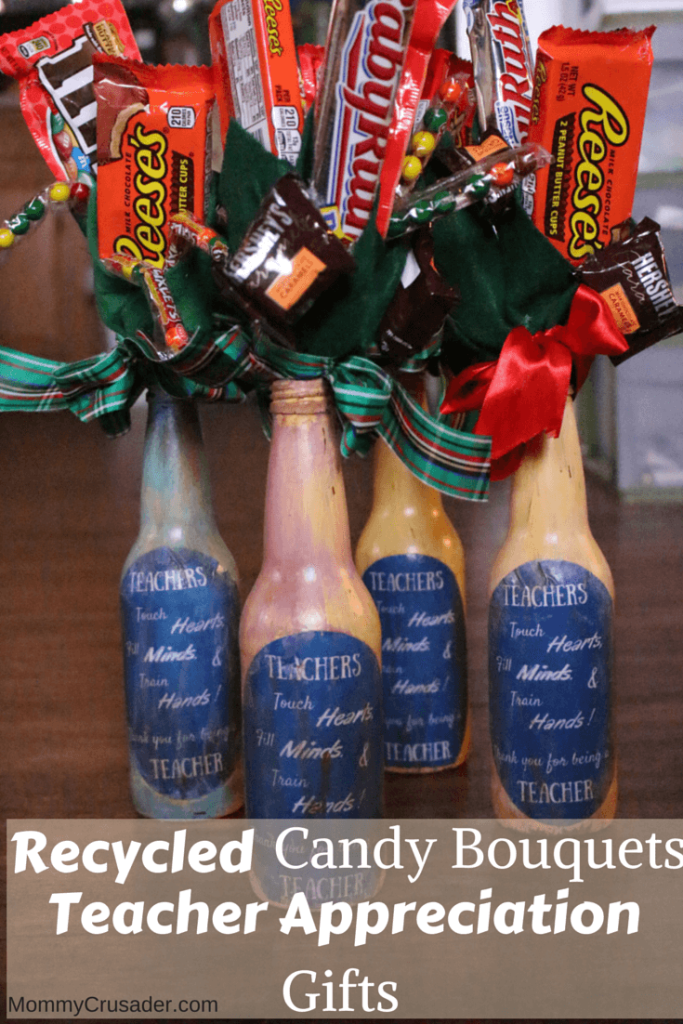
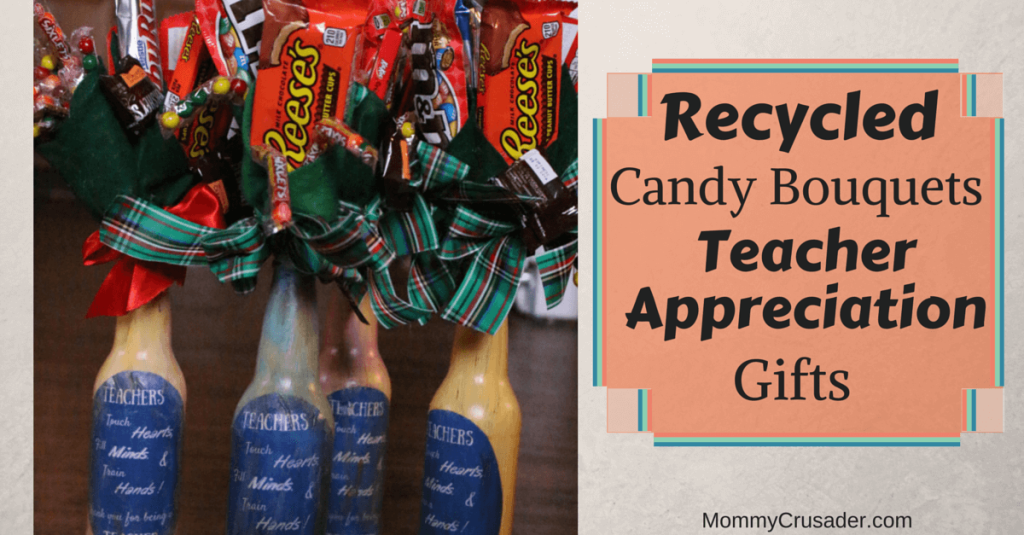
Our school year is ending. I am amazed every year at how much work it is to end the school year. Part of that, I think, comes from everyone – and I mean EVERYONE – wanting to be done with school. The last week is especially difficult for teachers. During this last week of school, I like to give my children’s teachers an appreciation gift. Just a little something to let them know that I appreciate them, their efforts, their time, their patience, and everything they have done for my kids during the year. This year, my kids and I made recycled candy bouquets teacher appreciation gifts.
This craft requires a lot of dexterity, but there are still parts that even young children can help with. This craft also needs a bit of time to complete, but the results are what my teacher husband calls “A fabulous teacher appreciation gift.”
Recycled Candy Bouquets Teacher Appreciation Gifts
This craft is done in two stages – the bottle preparation, and the flower creation.
Materials: Bottle
Glass Soda bottles, cleaned and dried
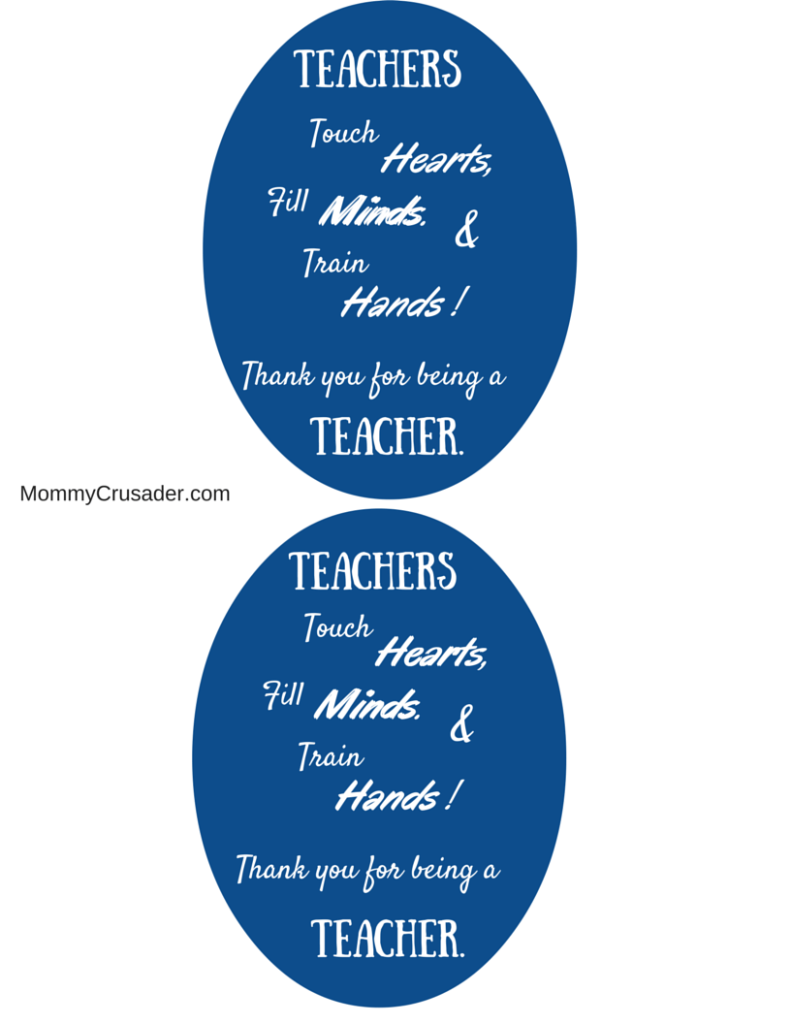
Teacher appreciation labels, available here
Mod Podge
Foam brush
Chalk paint (I used yellow, purple, blue, and white)
Clear wax
Dark wax
Polycrylic coating
Clean cloths
Bristle paintbrush
Materials: Flowers
Bamboo Skewers (I used four for each bottle)
Green felt squares (one will make four “flowers”)
Ribbon (2 ½ yards, approx.)
Four candy bars
Four smaller wrapped candy
Hot glue gun and extra glue
Scissors
Instructions for the bottle:
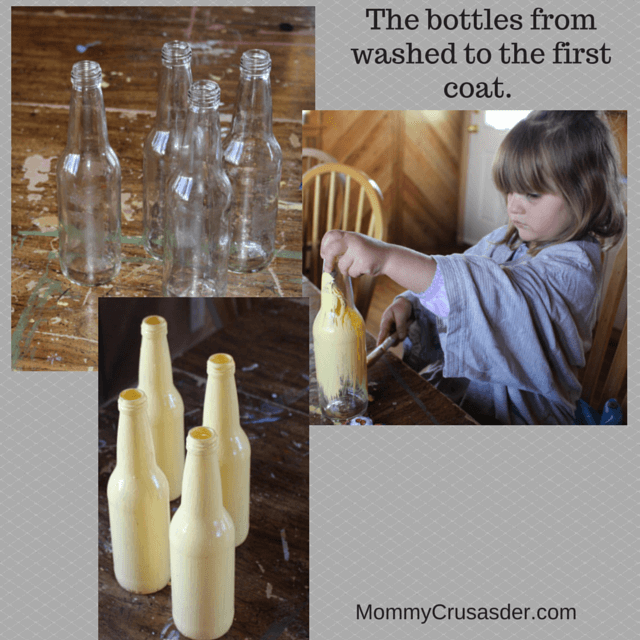
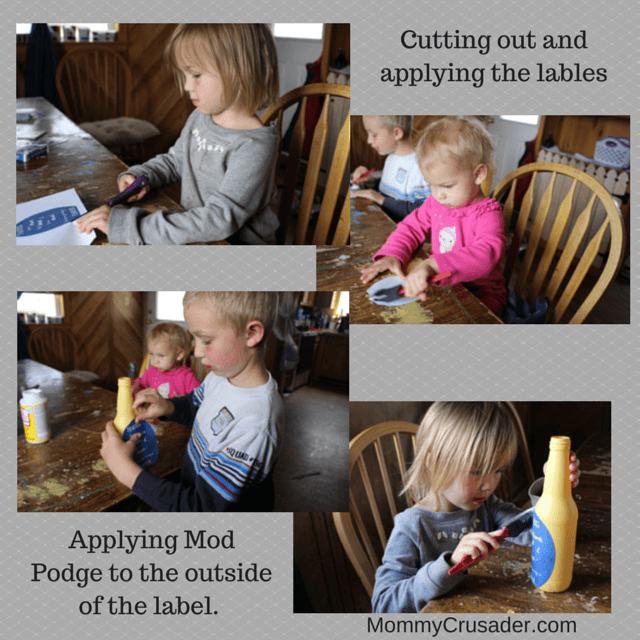
First, gather the glass bottles, teacher appreciation labels, Mod Podge, foam brush, and chalk paint. My children were able to help with the painting and application of the label. I antiqued and finished the bottle.
Glass is really hard to paint with regular, or even oil based paints. Often, using paints made for painting glass requires a “firing” or cooking step. Because of this I chose chalk paint because it will adhere to the glass without the “firing”. The waxes protect and antique the paint, and the Polycrylic coating ensures that the paint won’t be easily scratched.
Begin by applying a coat of chalk paint to the outside of the bottles – all the way to the top. Allow the paint to dry.
To make chalk paint, mix two cups of regular latex paint with four tablespoons of Plaster of Pairs and two tablespoons of water. Be sure to mix thoroughly or else the Plaster of Paris will clump.
Cut out the teacher appreciation labels as closely to the edge of the design as possible. Coat the back of the label with Mod Podge and apply the label to the bottle. Coat the outside of the label with Mod Podge. Allow the label to dry.
Apply a second coat of paint. I applied a different color for the second coat of paint, and then used a paper towel to blot the paint and create the texture on the bottles. Allow the paint to dry.
Coat the bottle with a layer of clear wax. Then, coat the bottle again with the dark wax. Finally, coat the bottle one more time with the clear wax. This antiques the paint and label. Allow the wax to dry.
Now, it’s time to apply the final protective coating. Paint the Polyurethane coating onto the bottle. Allow to dry.
The bottle is finished.
The bottle has several steps where time is needed to allow it to dry. During those pauses, I worked on creating the flowers for the bouquet.
Instructions for creating the flowers
First, gather the candy bars, smaller wrapped candy, felt, bamboo skewers, hot glue, and ribbon. I created the flowers without assistance from my children (specifically because of the hot glue).
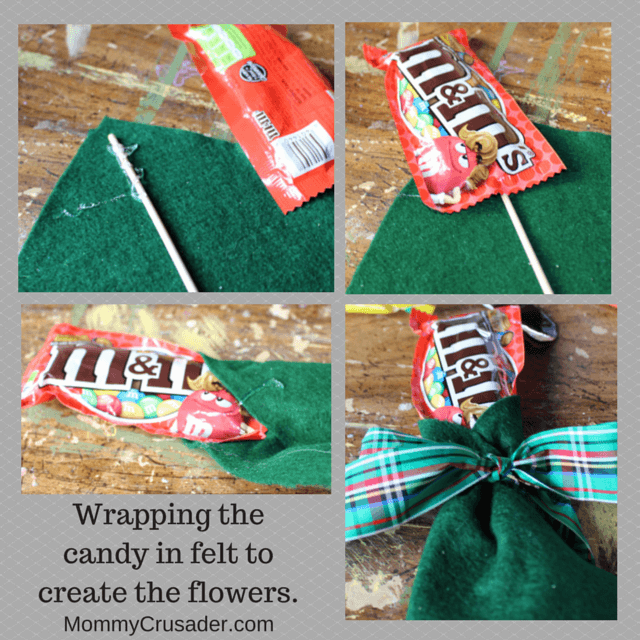
Run a line of glue on the diagonal of a corner of green felt. Place a bamboo skewer on the glue. Run another line of glue over the bamboo skewer and place the candy bar on the glue. Make sure that no less than half of the candy bar is touching the skewer. (I would wrap the felt around the candy bar before I glued anything down just to make sure everything laid correctly and looked right.)
Now, fold one side of the felt over, on an angle, and glue down. Repeat for the other side.
Cut the felt about two inches down from the end of the candy bar. Be careful not to cut the bamboo skewer.
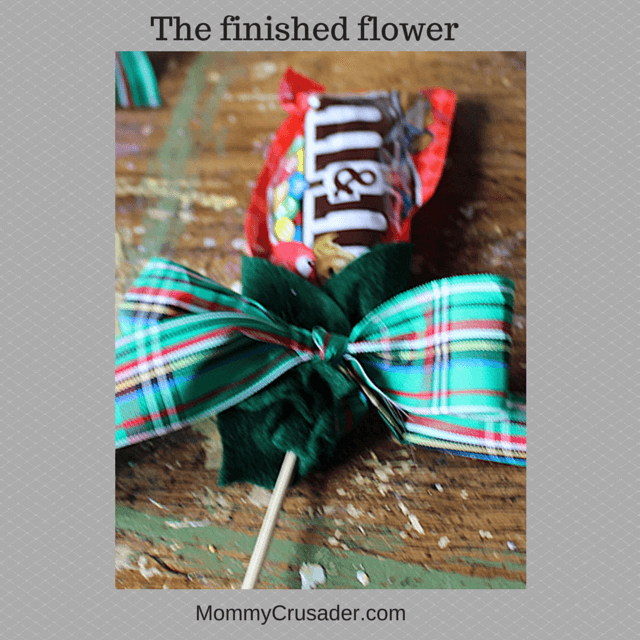
Choose one of the smaller wrapped candies and glue them to the interior of the green felt and the candy bar. (I used Sixlets and Hershey Nuggets.) These act as floral elements and give the “flowers” depth.
Finally, tie a bow out of the ribbon – either around the base of each individual flower, or around the entire bouquet. (I found tying the ribbon around each flower was easier, but took more ribbon to do.)
Now the flowers are completed, and so it’s time to place them in the completed bottle and deliver the joy.
This was a fast craft – even with the drying times (and several “Mom-teruptions”). I completed it in about three hours. The only difficult part of the craft was keeping the children from eating all the candy. I recommend buying a snacking candy so that family members will leave the gift candy alone. And I was able to make four recycled candy bouquets for less than $7 each.

