My children love roller coasters, and slides, and going around corners fast on their bikes. The feeling they love is the inertia they experience when they change directions. For our science lesson in our unit of ‘I’, we talked about inertia. We worked on three different activities for our Science in Action – I is for Inertia exploration.
Activity One: Sliding
Objective: to show children how an object will maintain its course, unless acted on by another force.
Vocabulary:
Force: something that causes a change in the motion of an object.
Law of Inertia: Objects at rest will remain at rest and objects in motion will remain in the same motion – unless acted on by another force.
Materials:
A playground ball
A slide
Someone to act as the additional force
Method:
Begin by explaining the law of inertia to the children. Have the children practice saying inertia a few times. Explain that inertia means that things tend to stay where they are unless another force affects them.
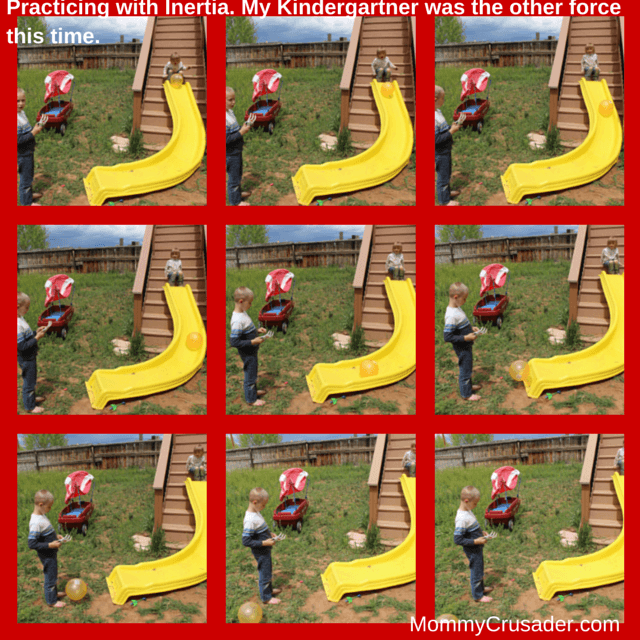
Show them how this works with the ball and side. First, let each child go down the slide. This will just help them get a little bit of their wiggles out. Now, have a child take a ball to the top of the slide and hold it there. Ask the children which direction the ball will go once it has finished sliding. Now, have the child at the top of the slide let go of the ball. Ask the children if they had guessed the right direction.
Now, have another child take the ball to the top of the slide and position a child about three feet from the end of the slide. Now, ask the children what they think will happen when the ball finishes sliding and then hits the child’s legs. Have the child at the top of the slide release the ball. Ask the children if they had guessed what would happen correctly.
Continue sliding the ball, giving each student a chance to release the ball and stand in front of the ball’s path.
Discuss the results of the exploration. Reinforce that the child standing in the path of the ball was adding another force to the ball.
Activity Two: Donuts (at slow speeds)
Objective: to help the children recognize how inertia feels
Materials:
a vehicle (car, bike, wagon – something with wheels that can be steered.)
qualified driver
Method:
I’m not one to recommend doing donuts in a parking lot on a regular basis, but for a lesson on inertia – it’s a great way for children to understand how their body moves when the vehicle changes directions.
Now, we did our donuts going about 5 miles an hour – still a very controllable speed, but fast enough that the children noticed how they moved differently than the car moved.
We first went to an empty parking lot, and we made sure we all were buckled safely in our seat belts and car seats. Then I told my children to watch what their bodies did as we drove around in circles. We only made three circles. On the way home, I asked the children to see how their bodies moved when we stopped or rounded a corner, as well. This was a great way to give the children a first-hand experience with inertia. My children really enjoyed it too.
Obviously, we used our vehicle, but anything with wheels that can be steered will work. The children could ride bikes, or be pushed in a wagon. The point is to have the object moving change directions quickly enough so that the body of the person in the vehicle feels the pull to continue the original motion.
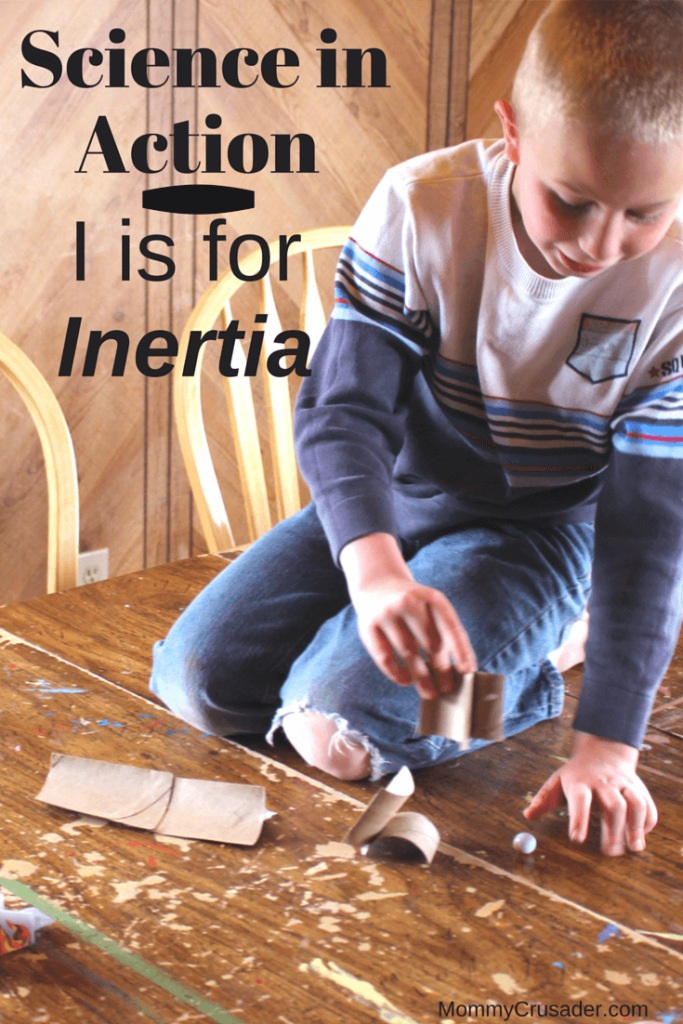
Activity Three: Inertia Obstacle Course
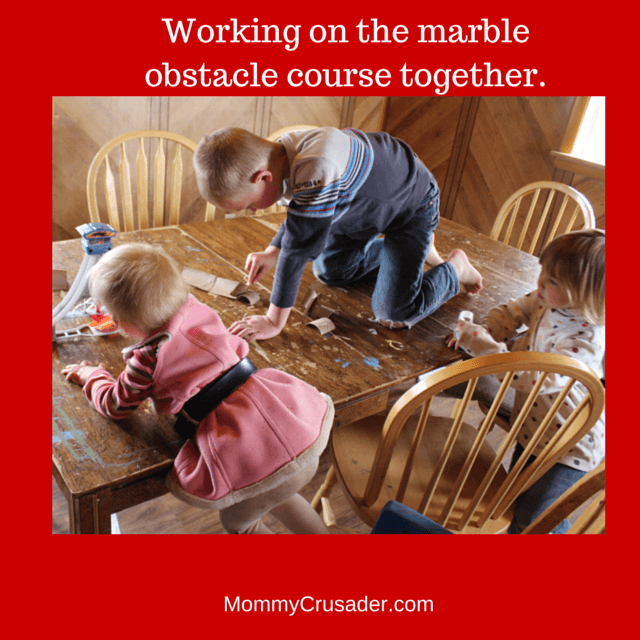
Objective: To have the children take what they’ve learned about inertia and set up an obstacle course for a marble.
Materials:
Marbles
Toilet paper rolls
Hot glue
A ramp
Masking tape
Scissors
Method:
Explain to the children that their goal is to make the marble change directions by using the law of inertia.
Have the children start by cutting the toilet paper rolls into ramps and cushions for the marble. Have the adult glue things according to the children’s designs. We cut the toilet paper rolls in half both ways, so the rolls now looked like half cylinders. We glued ours back to back so that the cylinders looked a bit like skate board ramps.
Now, place the ramp at the end of a flat surface – like a table, and drop the marble down the ramp. We used my boy’s HotWheels ramp. Now, have the children place the ramps where they think the marble will go. Help them to remember that the angles of the ramps will also affect how the marble reacts.
Once the ramps are set up as the children desire, tape them in place and then test the obstacle course. Continue testing until the marble changes directions five times, or the children are bored. This is a very challenging exploration, so the length of time spent on this activity may need to be adjusted based on the children’s patience level. My children really enjoyed this challenge and continued working well after I was satisfied with the learning experience.
These activities really helped my children understand inertia in a hands-on, practical way. It was a lot of fun to work on these experiences together. An added benefit from these experiences was that my children do not argue with me about wearing their seat belts. Now that they’ve noticed how their body moves independently of the vehicle, they are always willing to wear their seatbelts.


Permalink
Wow, you really got into this topic. What a great explanation. I’m sure your kids have a great understanding of inertia - I think I might too!