My fourth grader just turned nine. She asked for a pizza themed party. And that meant I got to play around with making a pizza cake. I had a lot of fun working on this little project. And my toughest critics said it looked cool.
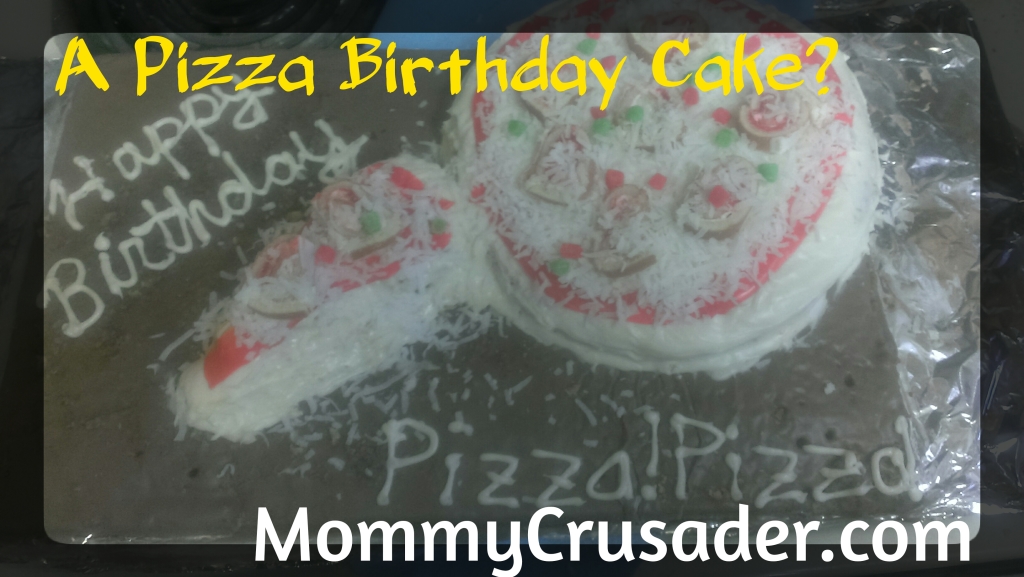
I’m not a professional baker, but sometimes it’s fun to stretch and make something a bit more challenging than normal. Instead of making a rectangular cake and frosting a pizza on the top, I set out to make a pizza shaped cake.
Here’s the play-by-play.
First, of course, is the task of making the cake sponge. I cheated, again, and just used two yellow cake mixes from my cupboard. These mixes actually make good tasting, moist sponge. Besides, I was going to spend a lot of time decorating the cake; I needed to save time somewhere. My preschooler helped happily with mixing the cake, especially since I let her lick the bowl.
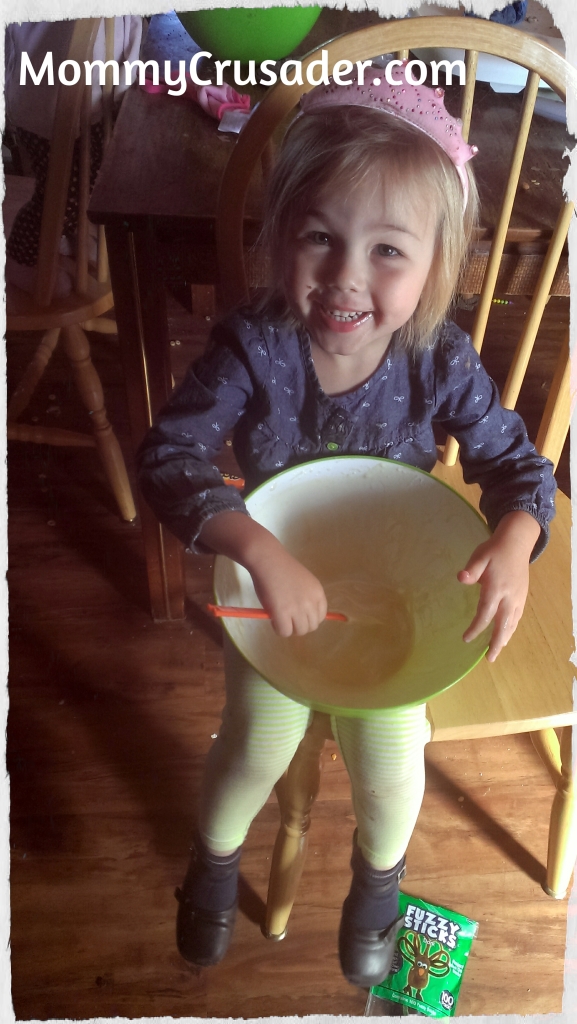
We poured half of the batter into a jelly roll pan and the other into two round cake pans. Then baked them according to the cake mixes’ directions. While they were baking I gathered my frosting ingredients, and the specialty items I would need to decorate the cake. I also covered some cardboard with tinfoil to be the base where the cake is built.
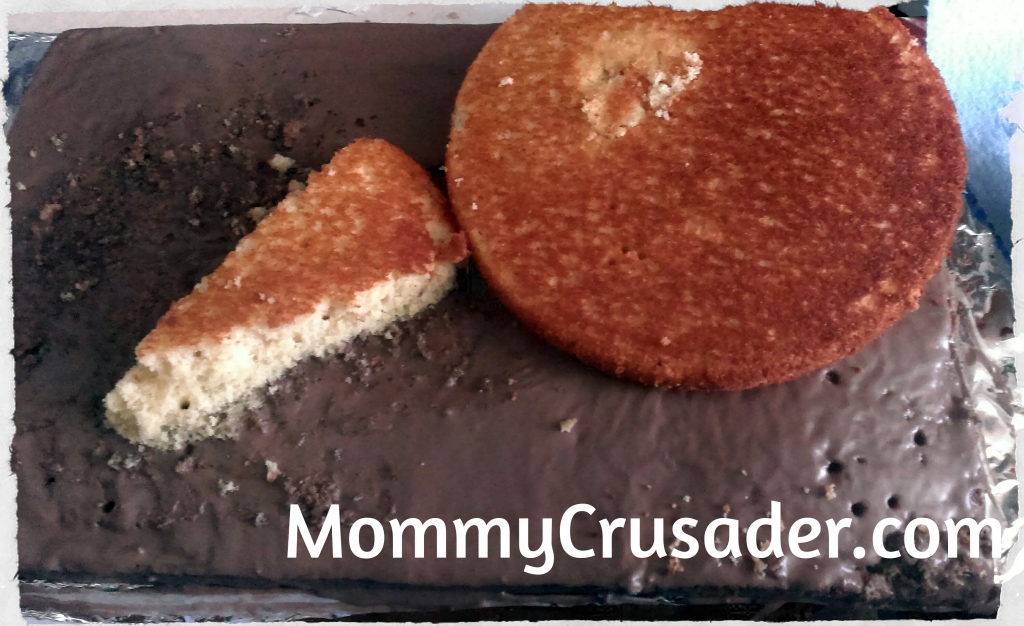
The jelly roll pan finished and cooled faster than the cake rounds, so I was able to turn it out and frost it sooner. I wanted the rectangular part of the cake to look a little like the cardboard box the pizza comes in. I make a chocolate butter cream frosting to cover the rectangular cake. Then I turned out the round cake pans. I was too impatient and had one cake crumble practically to pieces. I was able to salvage a triangular piece to use as a single pizza slice. The other cake turned out beautifully. So, I had a slice of pizza and a whole pie to frost.
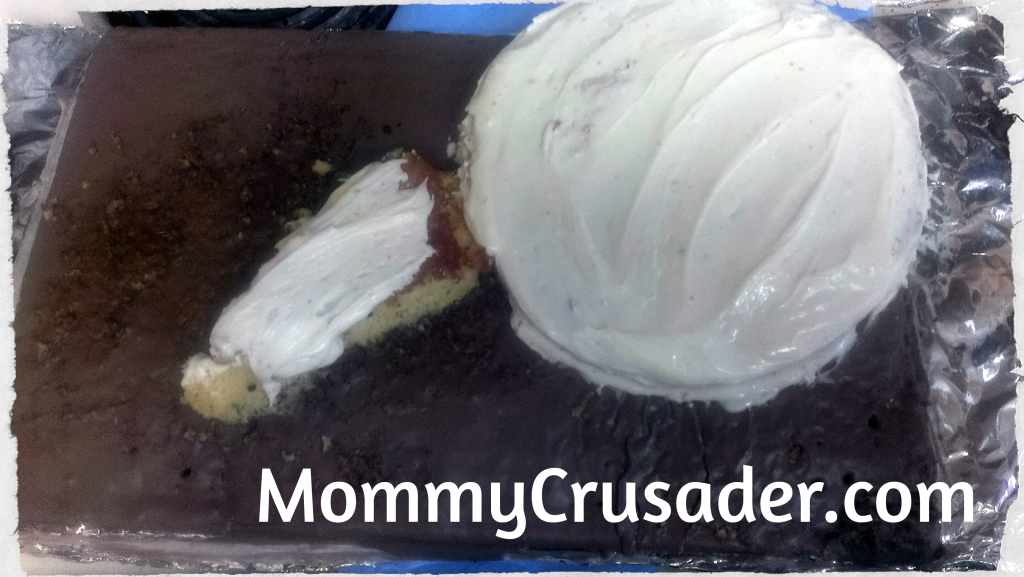
Next, I made a white buttercream frosting to frost the pizza slice and pizza pie.
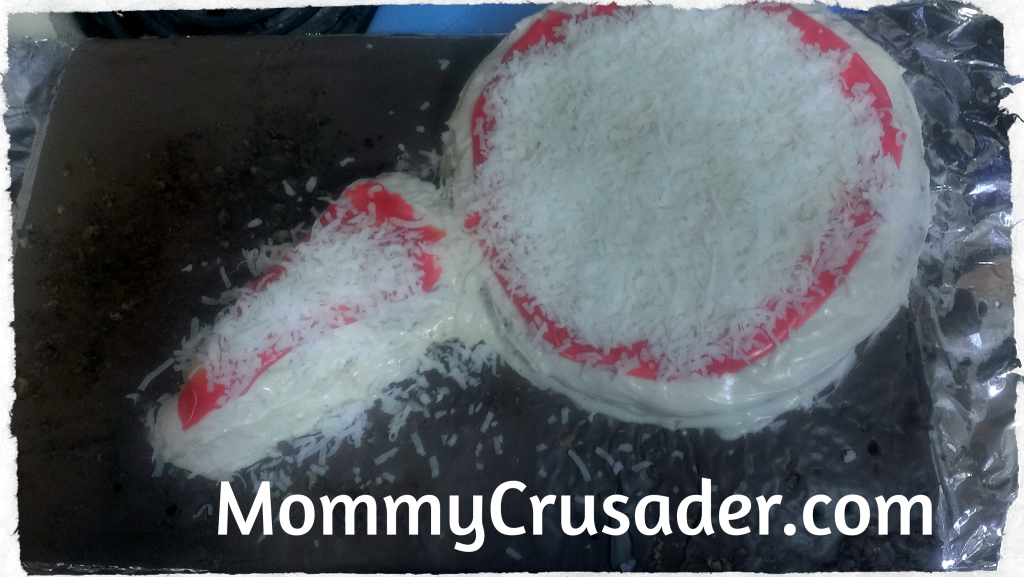
Then I had an inspiration. Instead of coloring the frosting red for the pizza sauce, I placed strips of red fruit leather around the edges of the pizzas. After adding shredded coconut for the cheese, the fruit leather looked perfectly like the pizza sauce it was representing.
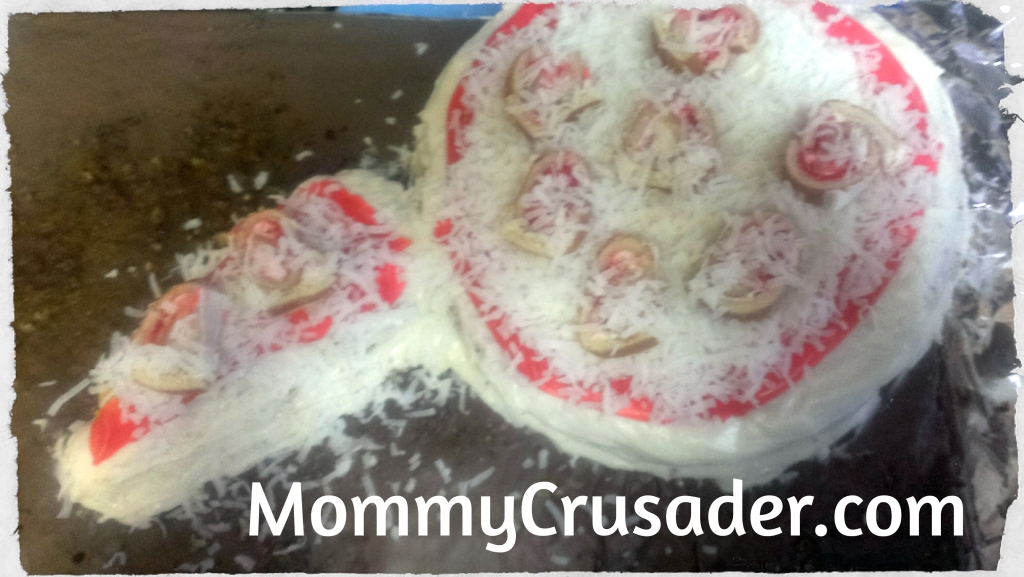
I was to the finishing touches at this point. I used a strawberry and cream mini-cake roll to make the mushrooms by thinly slicing the roll into about 10 slices. Be sure to place the roll on its side when slicing or else the roll will disintegrate.
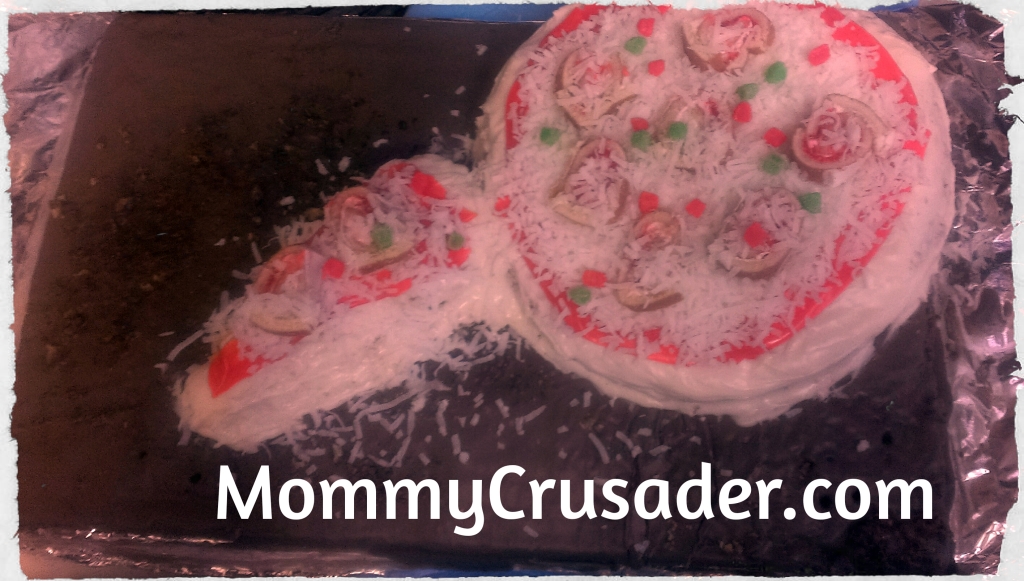
Next, I cut up some red and green gummy worms (only about two each) to represent the red and green peppers on a lot of the frozen pizzas. After sprinkling the “peppers” around the pizzas, I sprinkled a little more coconut on top of the mushrooms and the “box”.
Finally, I piped the message “Pizza, Pizza!” on the cardboard box, as well as the happy birthday message.
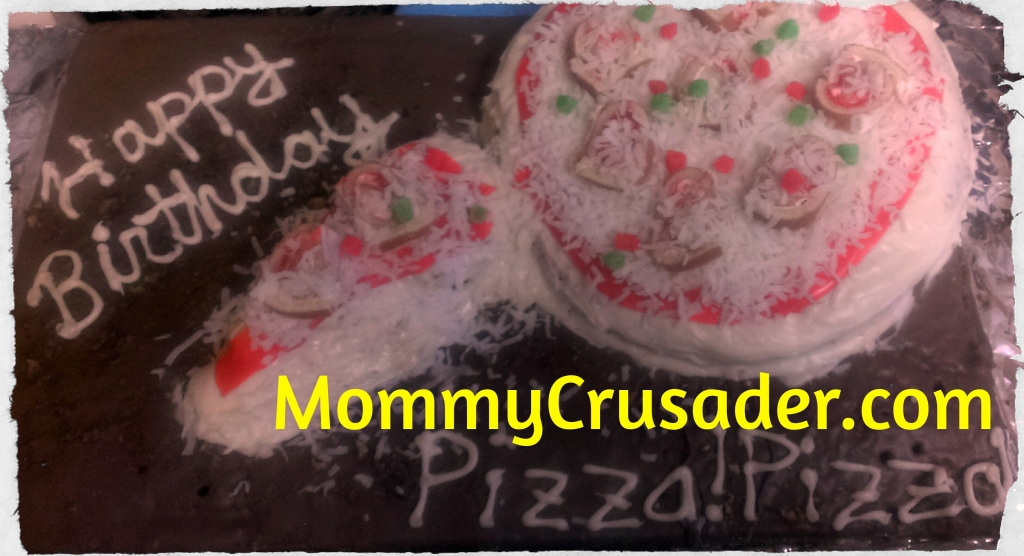
I had a lot of fun exploring this project. And my fourth grader—she was just beside herself when she saw it. So, I’ll count it as a success.

Permalink
This is SO creative! I always love it when I make time to do my kids cakes… altho, some years I have gotten lazy and bought them. Love how you cut up gummy worms, etc. for the cake decorations.
Permalink
Thanks for your kind comments. It was really fun to do and I’m glad it ended up looking right. Thanks for coming by and commenting.
Permalink
That looks very real. I want one!
Permalink
Next time we’re in town, I can bring you one if you’d like? Thanks for coming by and commenting.
Permalink
Your pizza cake turned out so cute! I love it.
Permalink
Thanks, I’m glad you think so! Thanks for coming by and commenting. 😉
Permalink
Cute! I’m glad she loved her cake.
Permalink
Thanks! She had a hard time not peeking while I was decorating it too. It was fun to see her excited about it. Thanks for visiting.