During our spring break, we got to visit with some cousins who live far away from us (in a different state). We had a lot of fun together, and one of the things we did was make topography maps of the two states. It was an interesting experience for the cousins to spend time creating a state topography map.
Objective: To help the children gain a better understanding of the geography of their state.
Materials (per child):
1 Cardboard rectangle, about 9 in. by 6 in., covered in tin foil.
1 small printout of the outline of the state being focused on, for practice.*
1 printout of the outline of the state being focused on that will fit onto the cardboard.*
1 full color printout of the state’s topography*
1 recipe of salt dough (one recipe is enough for two state maps, approx)
Craft paint – green, blue, and brown.
1 Foam brush.
*These printouts are available from various state agencies online.
Preparation
First, mix the salt dough.
Here’s the recipe we used:
1 part salt; to 2 part flour; to 1 part water
Mix the salt and the flour together. Create a well in the middle of the dry ingredients. Add the water in the well. Knead until smooth. A single recipe uses ½ cup of salt, 1 cup of flour, and ½ cup of water.
Cover and set aside until needed for the activity.
Method:
Begin by explaining how a topography map works, and that it shows the different elevations.
Have the children look at the full color topography map and talk about where the mountains, rivers, lakes, and other features are. Have them explain how they know if an area is high or low; how they know if there are rivers or lakes in the state; etc.
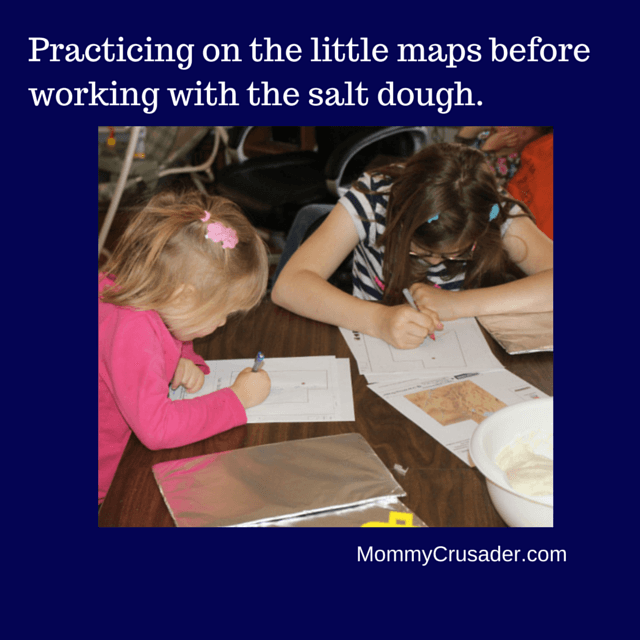
Now, have the children take the small printout of the state’s outline and draw the features onto the paper. Explain that mountains are shown by using upside down “v” shapes. Let them practice drawing in the rivers and lakes.
After they have practiced creating their states on paper, now it’s time to use the salt dough.
First, place the other state outline onto the foil-wrapped rectangle.
Trace the outline with a ballpoint pen. This will leave a line on the tin foil showing the outline of the state.
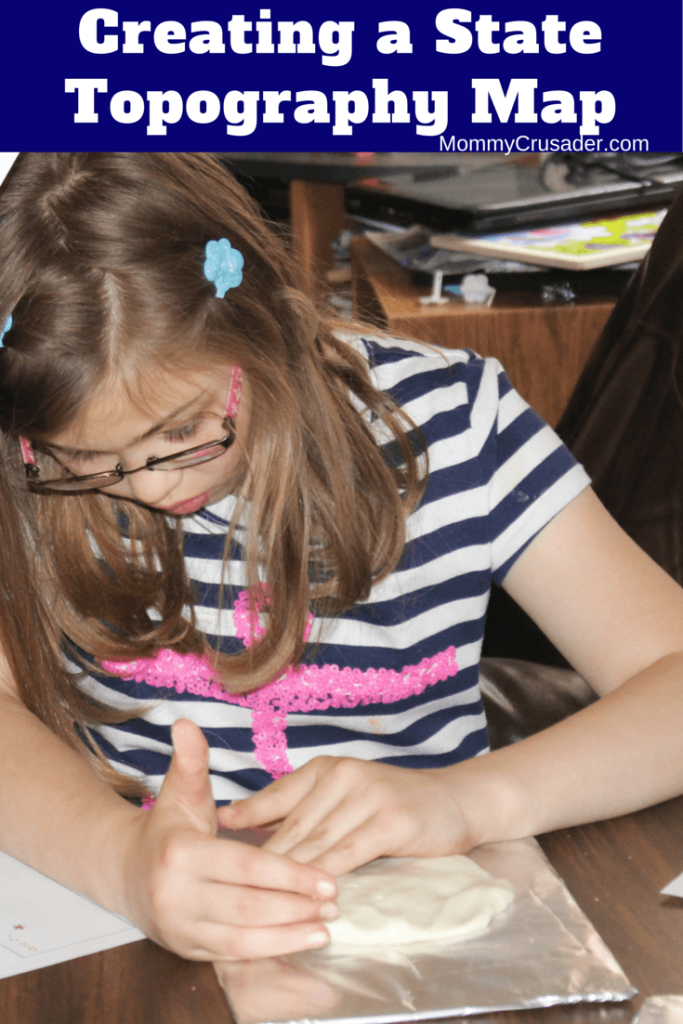
Now, divide the dough evenly between the children and have them squish the dough into the outline of the shape until the shape is full and the dough is smooth.
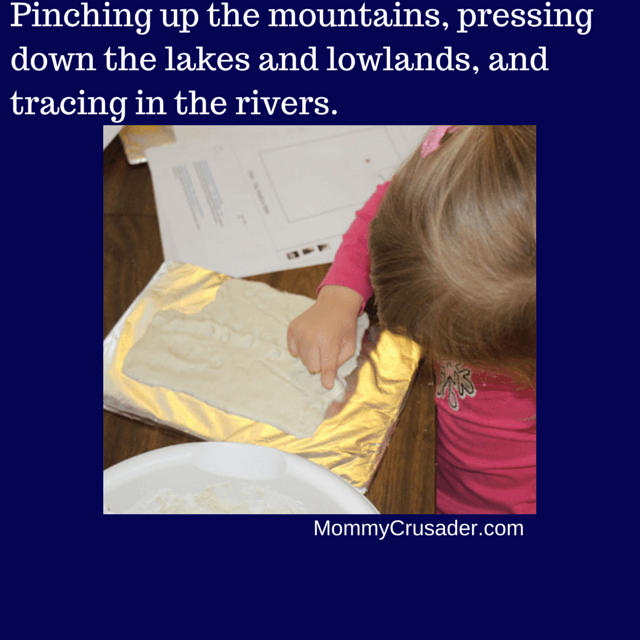
Help the children create the features of the state – pinching up the dough up for high mountains, squishing the dough lower for low lands and lakes, and making lines for the rivers.
After the children have finished forming the maps, set the topography maps aside to dry. This may take a day or two. (We waited two days for ours to dry.)
After the maps are dry, it is time to paint.
To paint it like a topography map, the lower the elevation the lighter the color is. So, the base of a mountain might be light brown and the top would be dark brown.
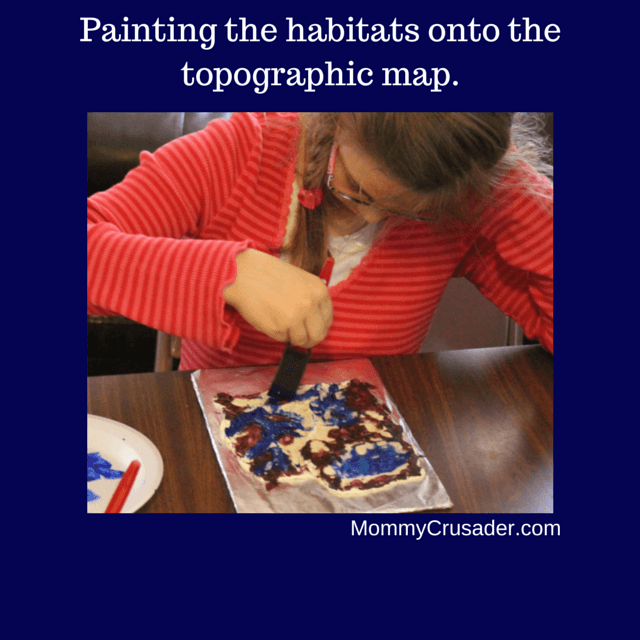
We painted our maps according to the habitats displayed. In our state, the mountains are green (because they are the forests), the lowlands are brown (because they are deserts), and the rivers and wetlands are blue (because there is water there). Our state is one of the driest states in the US. We will be using the maps again when we talk about habitat. That is way we painted them according to the habitats displayed on the map.
We talked about the differences between the two states. The cousins thought it was very interesting how different the states actually were. Making the maps also helped the children better conceptualize the actual structures of the land in the two states.
Admittedly, our youngest cousin just made crater holes in his salt dough, but he was only three. He still enjoyed making the craters and later painting them – so I’ll count it as a win.


